
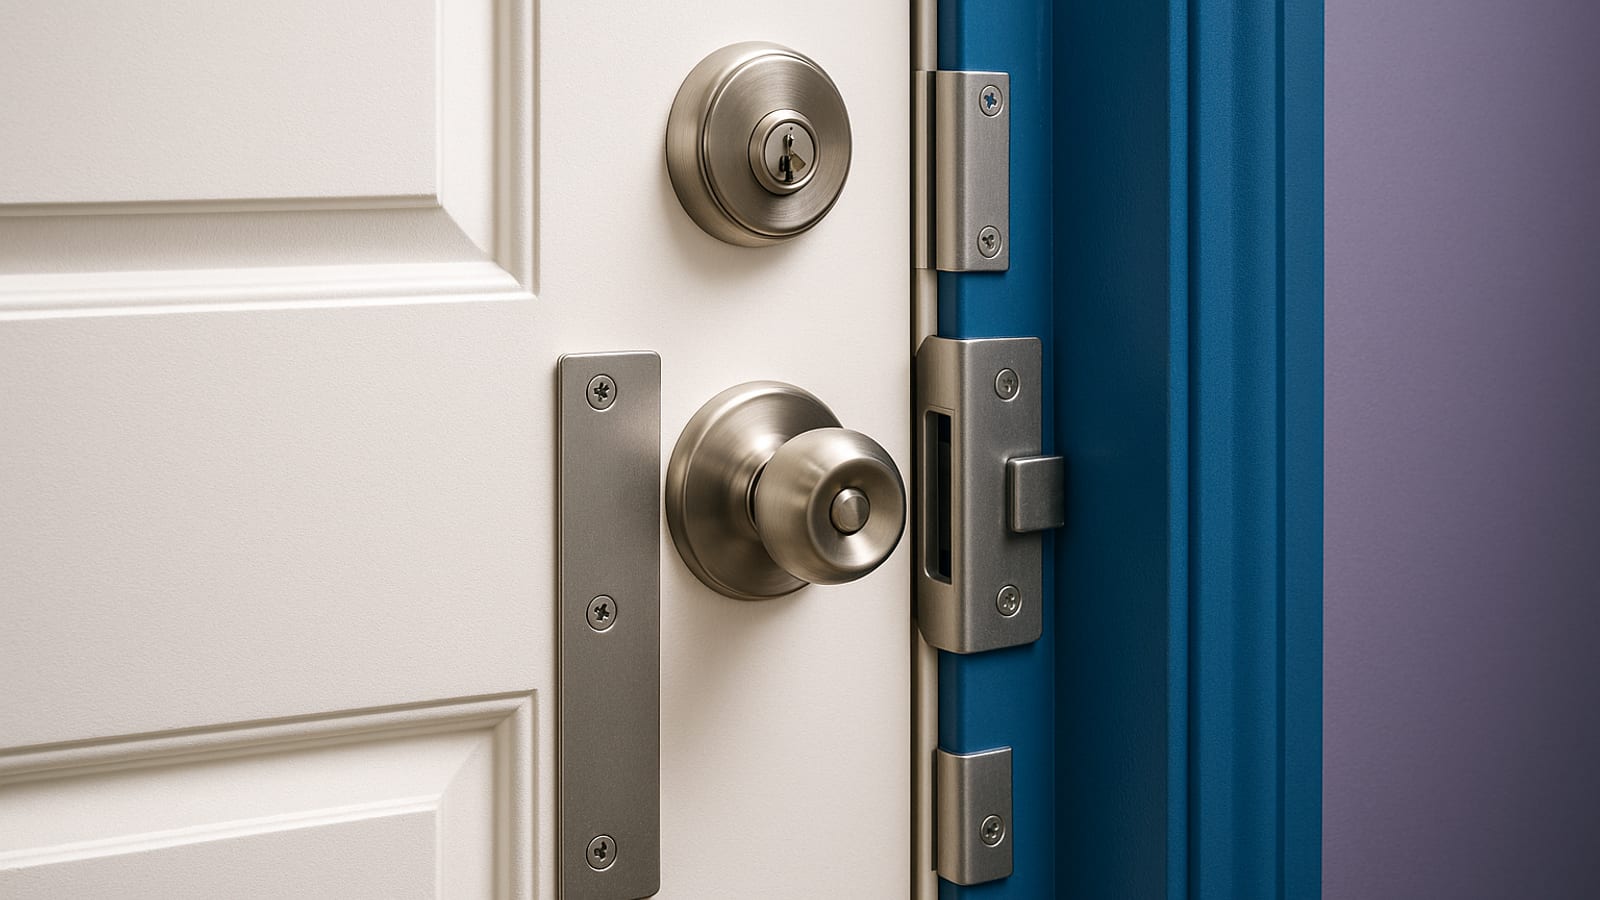
Understanding Door Armor: Is It Right for You?
Most doors fail in under ten seconds. One kick to the frame and the lock means nothing. Door armor changes that equation — but only if you understand what you’re buying and why it works. This guide breaks down the components, the installation process, and the honest calculus of whether it belongs on your door.
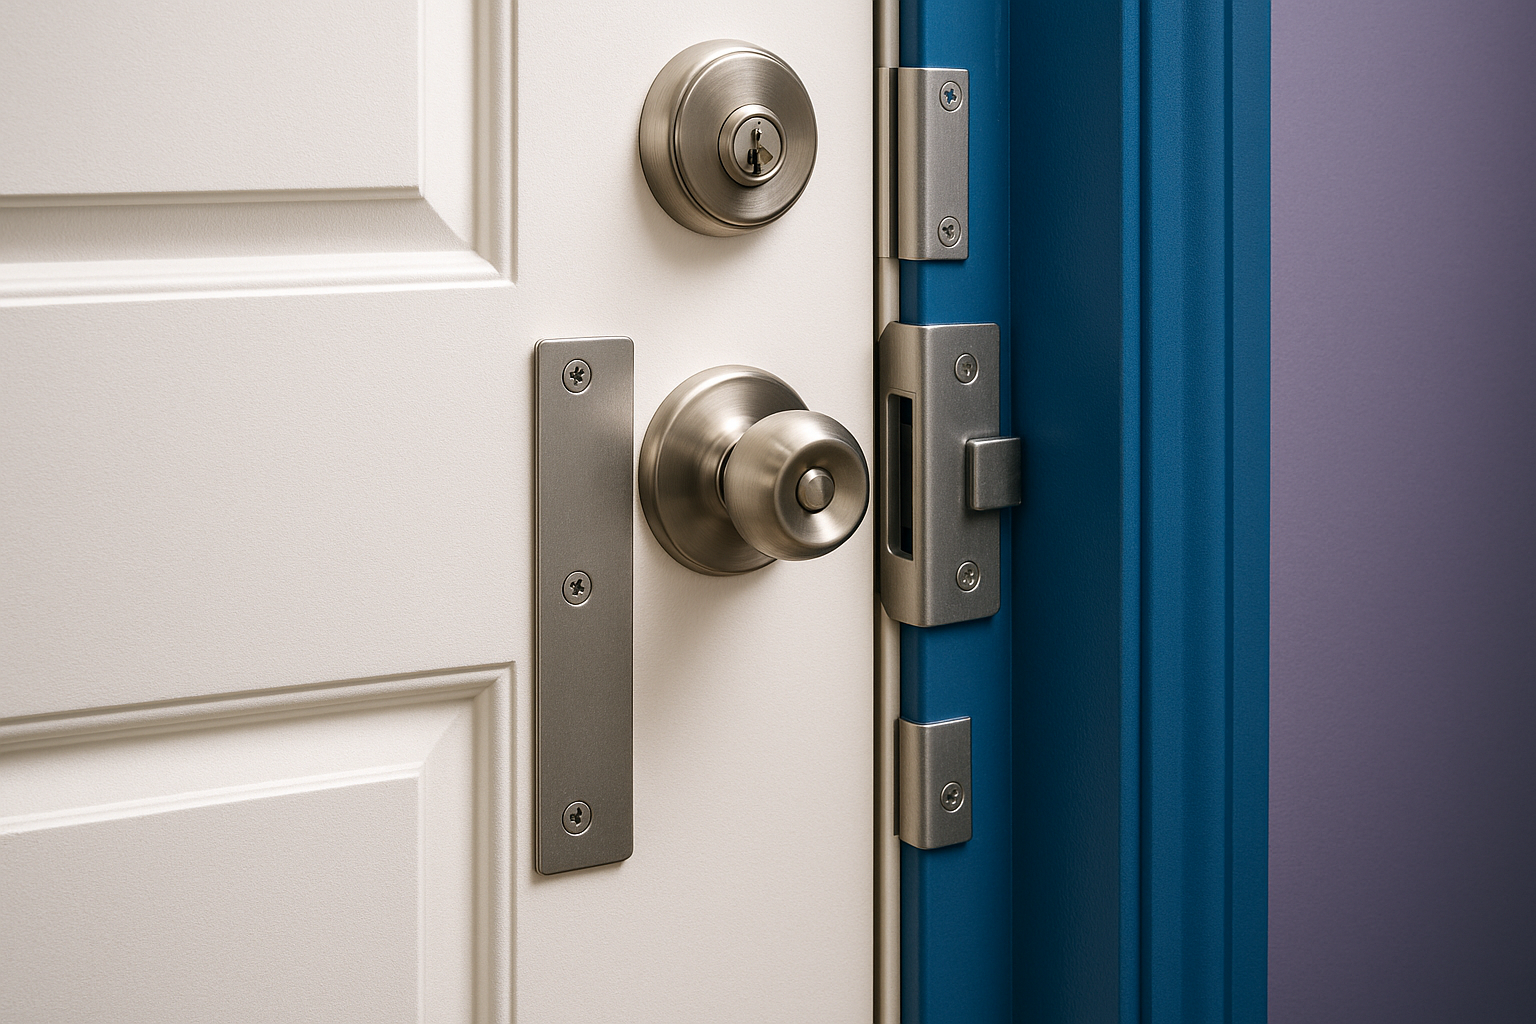

What is Door Armor?
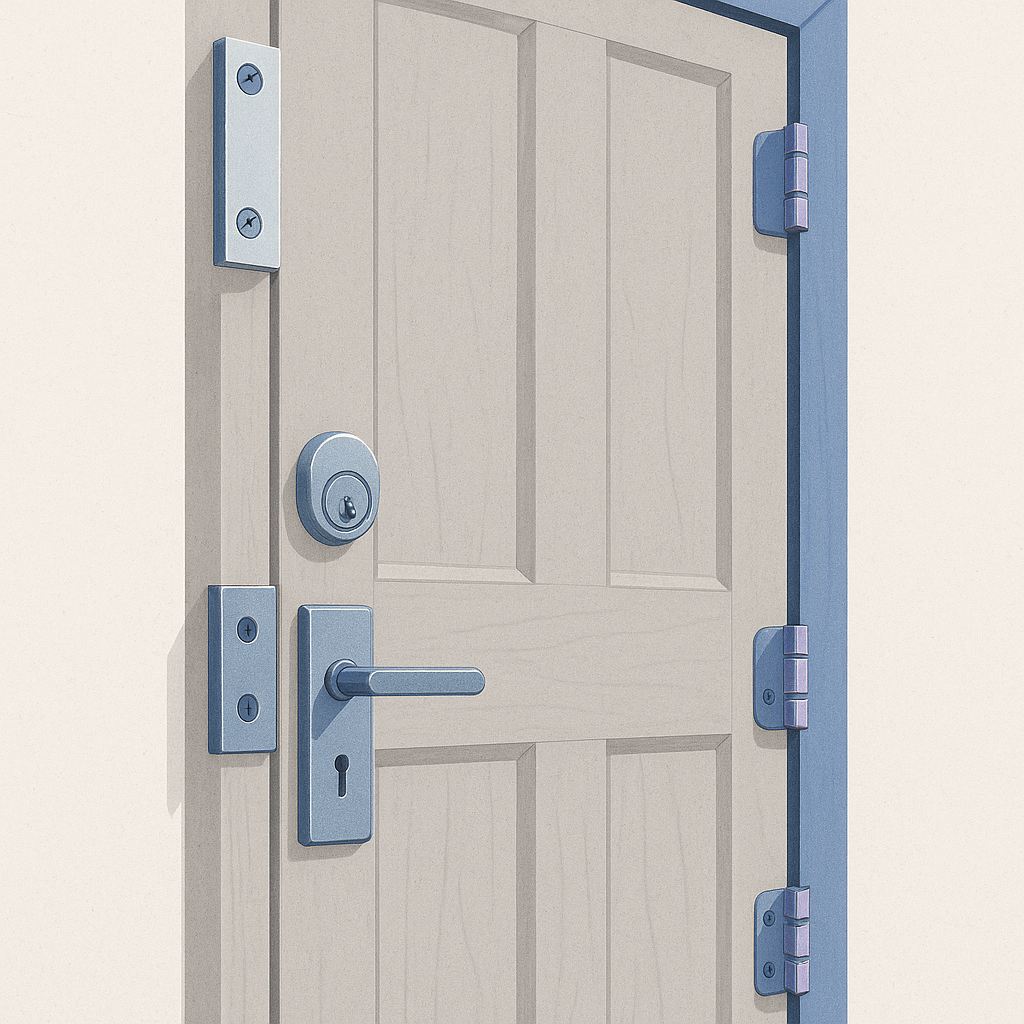
Door armor is a system of reinforcements that hardens your door against forced entry. It typically includes a strike plate, jamb shield, and hinge shields. Each component targets a specific failure point. Together, they make kick-in attacks — the method used in the majority of residential break-ins — dramatically harder to execute.
Why You Need Door Armor
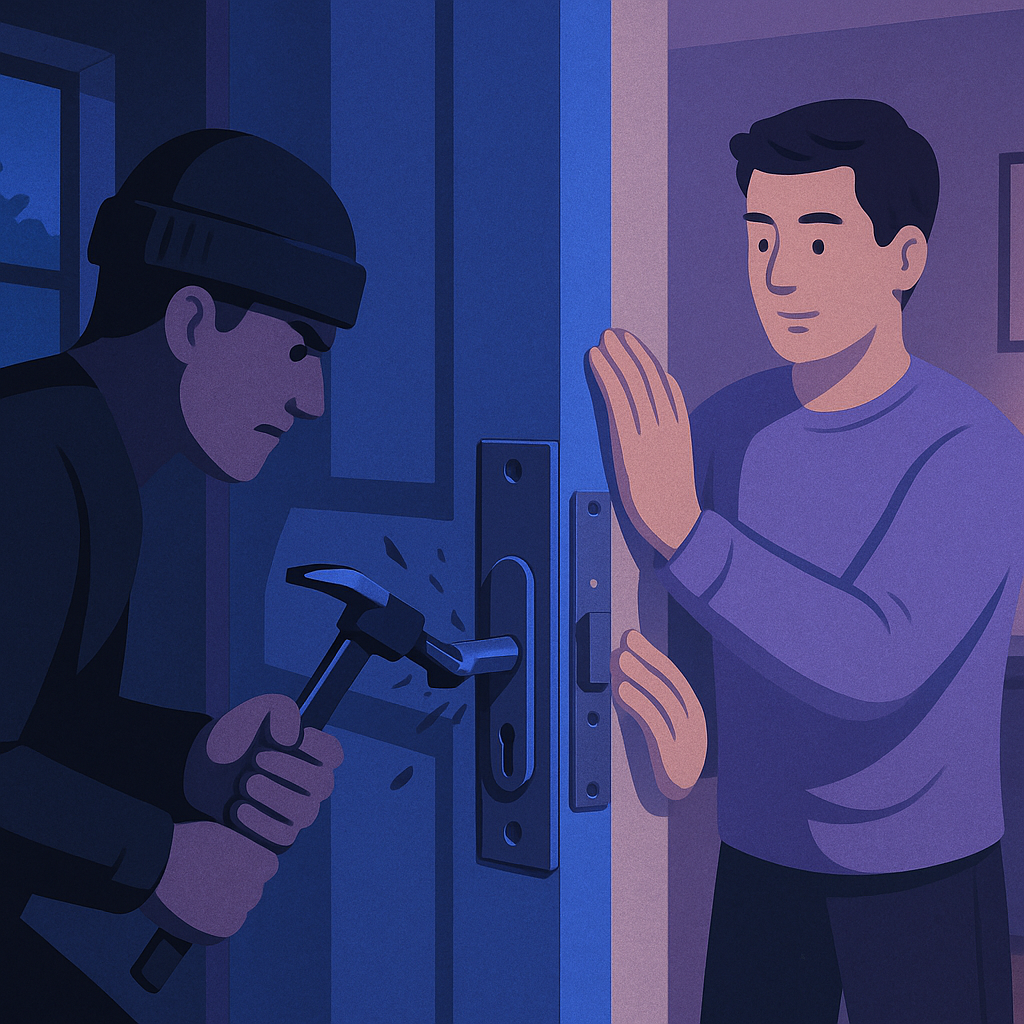
Forced entry through doors accounts for a significant share of home invasions. Your deadbolt is only as strong as the frame holding it. Door armor reinforces that frame. The result is a door that absorbs impact instead of splitting — one that buys time, deters opportunists, and holds when it matters most. If you live in a higher-crime area or travel regularly, that margin is worth real money.

Components of a Door Armor Kit
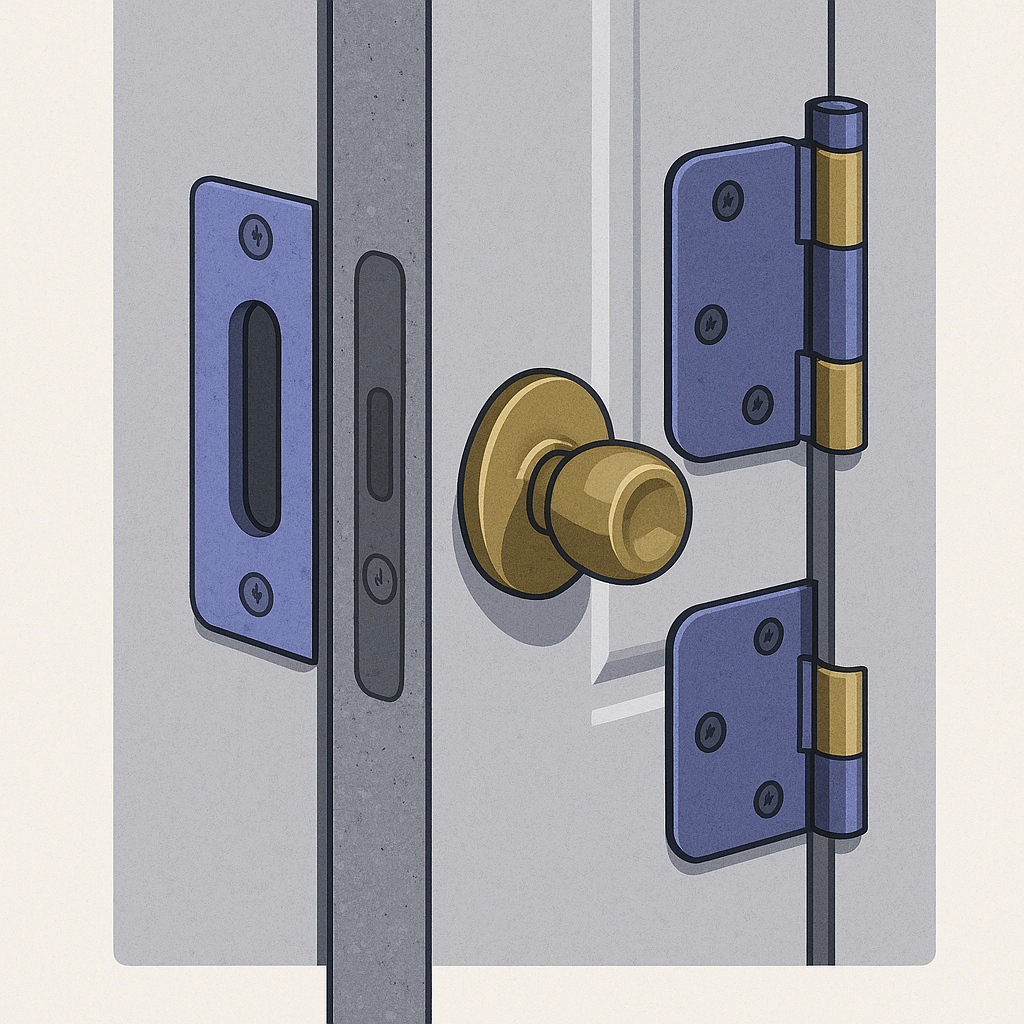
A standard door armor kit ships with four core pieces:
- Strike Plate: Reinforces the door frame and absorbs impact.
- Door Jamb Shield: Strengthens the door jamb to prevent splitting.
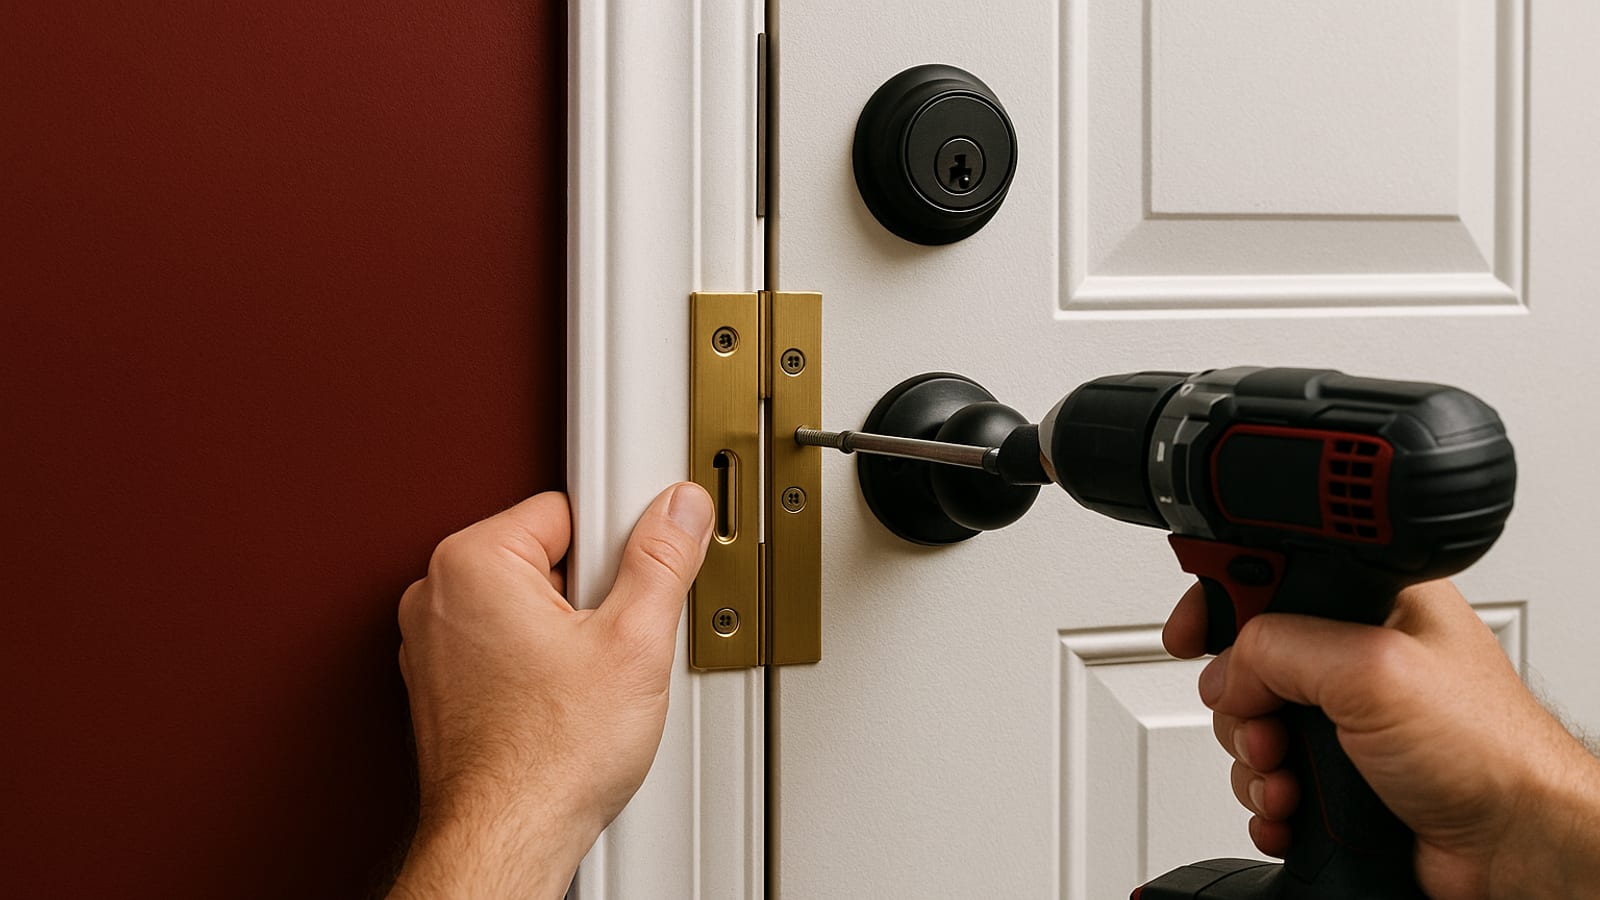
- Hinge Shields: Protects the hinges from being tampered with.
- Door Edge Reinforcement: Adds extra strength along the door’s edge.
How to Install Door Armor: A Step-by-Step Guide
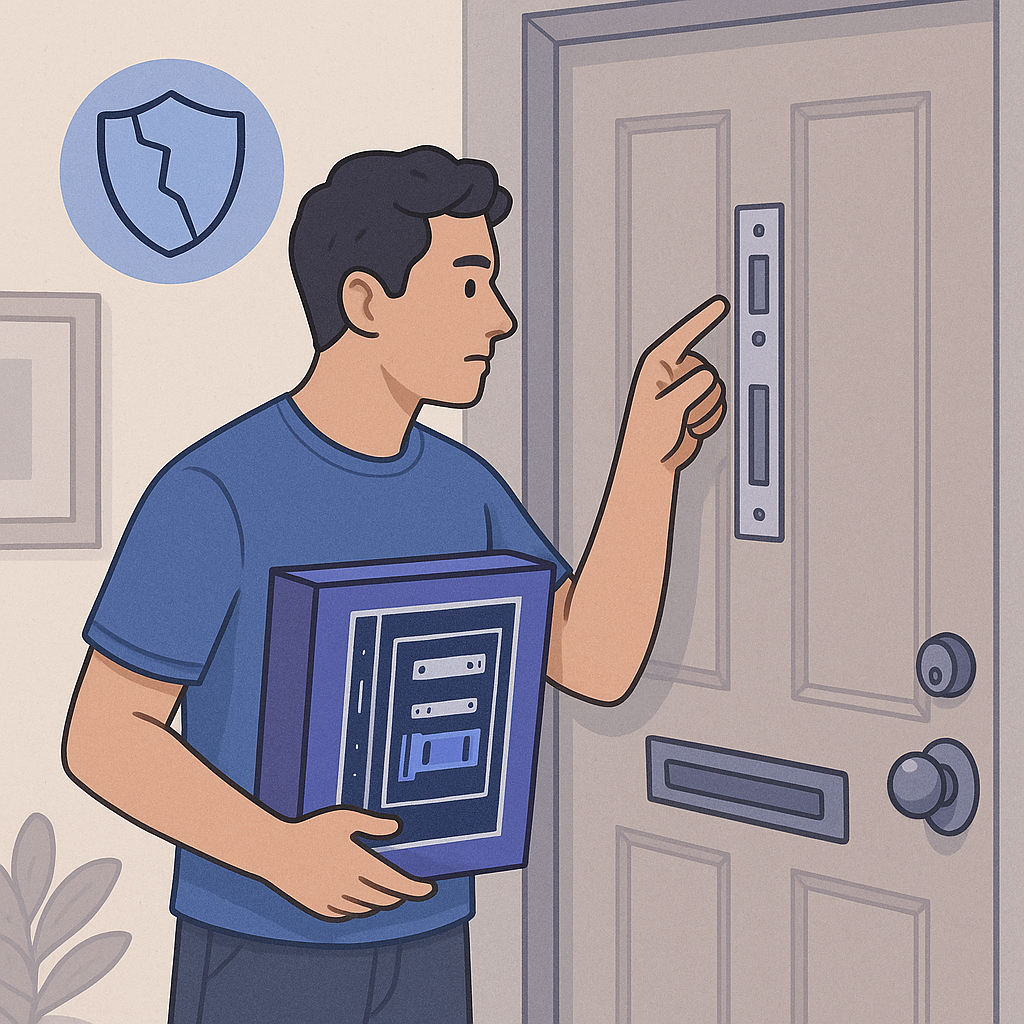
- Assess Your Door: Identify the weak points. Look at the frame, the hinges, and the strike plate area.
- Choose the Right Kit: Match the kit to your door’s specs. Quality kits run $70 to $200 — a fraction of what a break-in costs you.
- Prepare Your Tools: You’ll need a drill, screwdriver, and possibly a chisel depending on your door’s construction.
- Install the Strike Plate: Pull the existing plate. Drill new holes and seat the reinforced strike plate with long screws that reach the studs.
- Fit the Door Jamb Shield: Align the jamb shield with the door frame and drive in the screws.
- Attach Hinge Shields: Remove the existing hinges, fit the shields, and reattach using longer screws.
- Reinforce the Door Edge: Screw the edge reinforcement firmly along the full length of the door’s edge.

Evaluating the Effectiveness of Door Armor
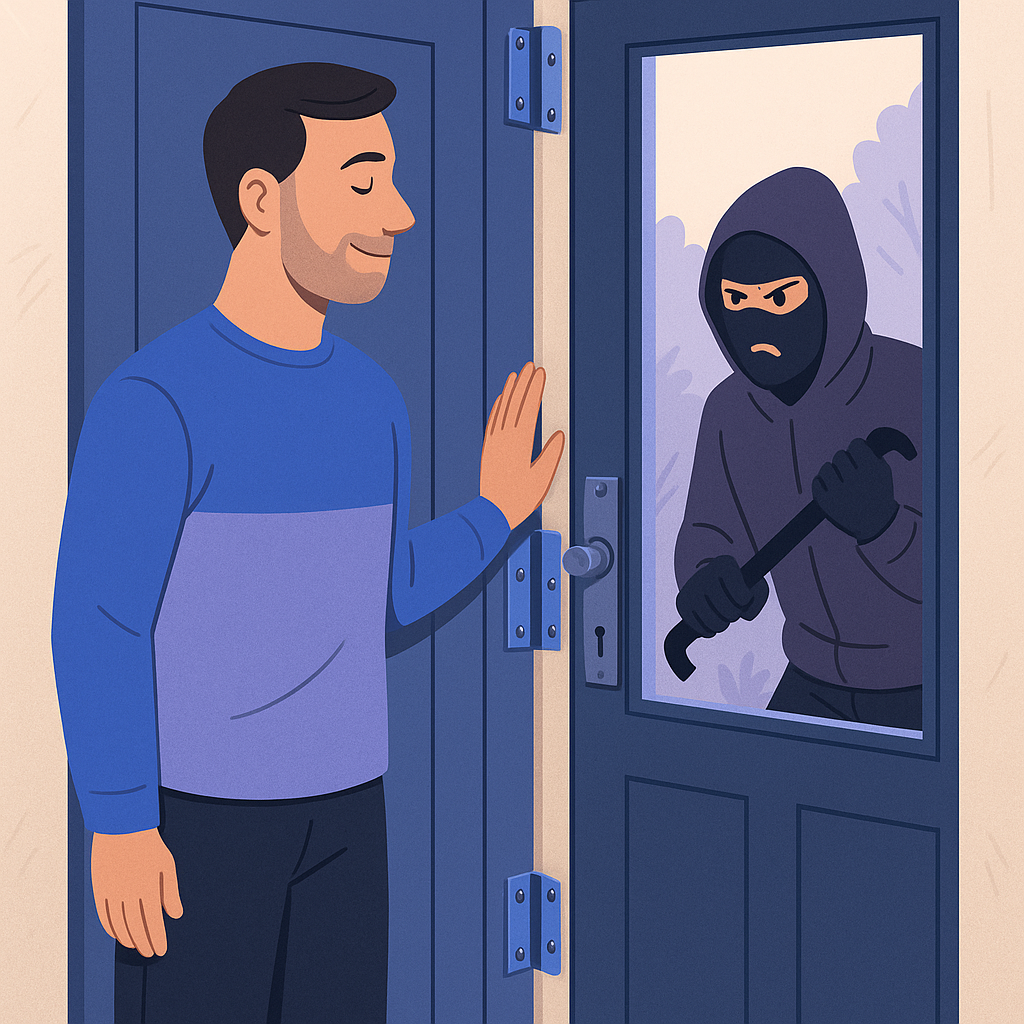
No system is bulletproof. But a properly reinforced door can withstand several hundred pounds of force — enough to stop most opportunistic attacks cold. The added resistance raises the cost of entry for an intruder. Most will move on. That deterrence effect is the real return on this investment.
Is Door Armor Right for You?
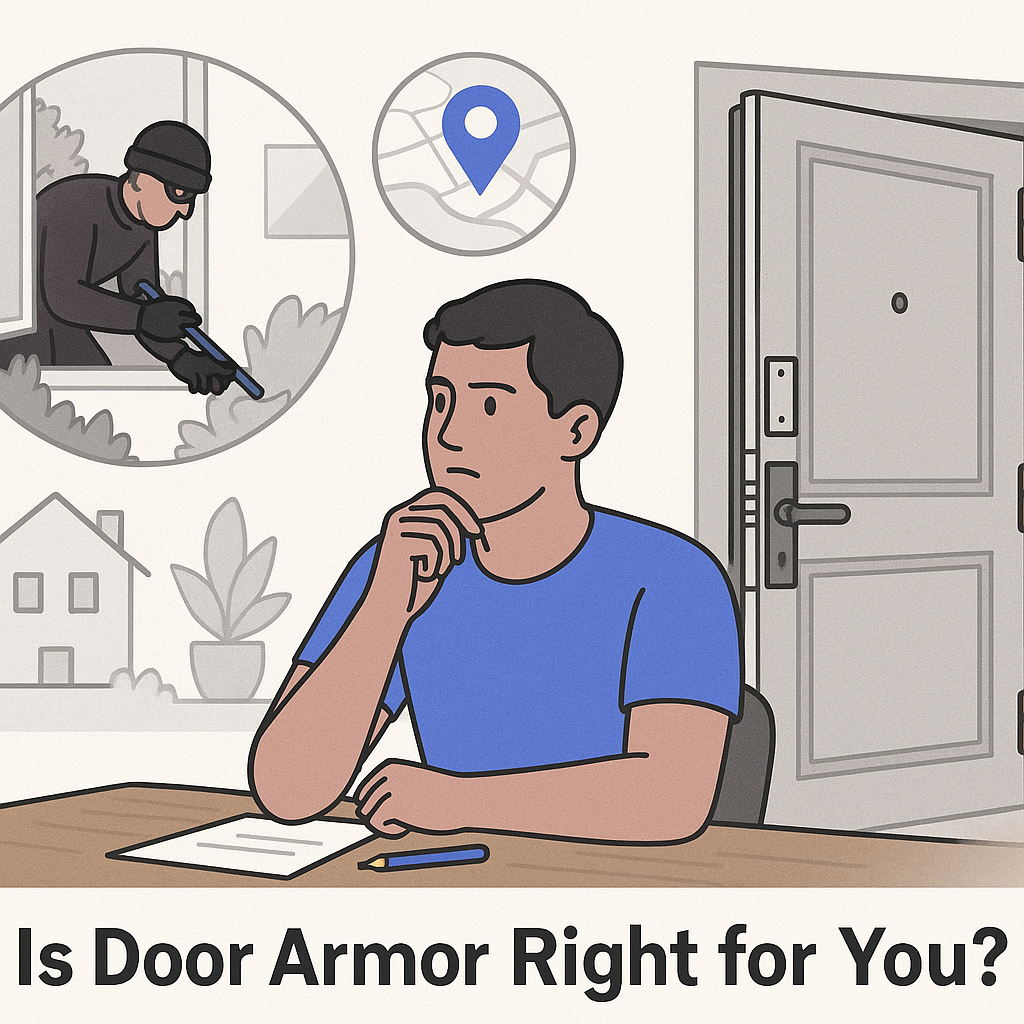
Run the numbers against your situation. If you’ve had a break-in, live in a high-crime area, or spend significant time away from home, door armor is a straightforward upgrade. The cost is low. The installation is a weekend project. The protection is immediate and durable.
Next Steps: Enhancing Your Home Security
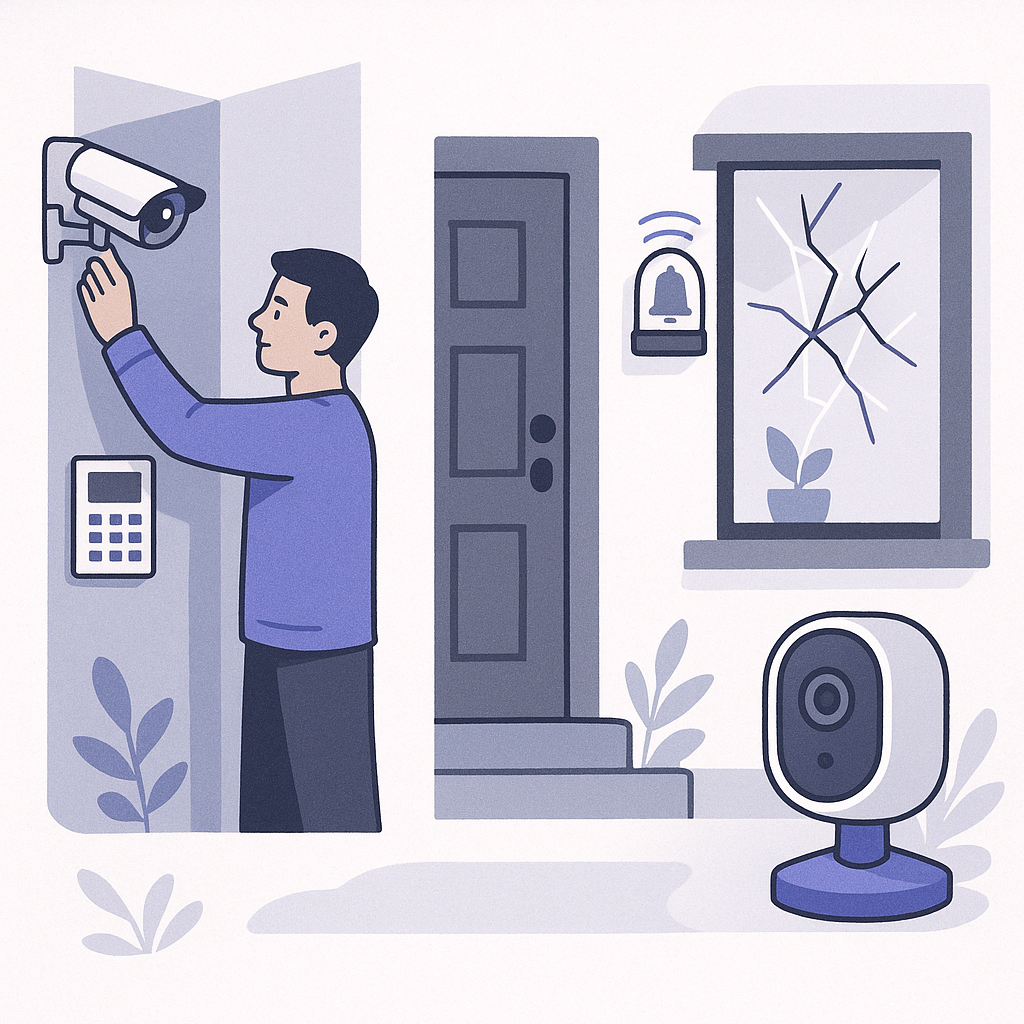
Door armor is one layer. Stack it with these additional measures to build a complete perimeter:
- Install a Security System: Cameras, alarms, and motion detectors extend your coverage beyond the door.
- Reinforce Windows: Shatterproof film and window locks close the next most common entry point.
- Outdoor Lighting: Motion-activated lights remove the cover of darkness that opportunists depend on.
For homeowners ready to integrate smart technology into their security setup, AI-powered systems are worth a close look. Explore what’s possible at ArcanoLabs Blogs.
Conclusion
Door armor is a practical, low-cost upgrade with a clear return. Understand the components, follow the installation steps, and you’ve meaningfully hardened your home’s most vulnerable entry point. Security isn’t about perfection — it’s about making yourself a harder target than the next house. Start by assessing your door today.
For more on home security and building systems that protect what you’ve built, visit ArcanoLabs.
Advanced Installation Techniques for Door Armor
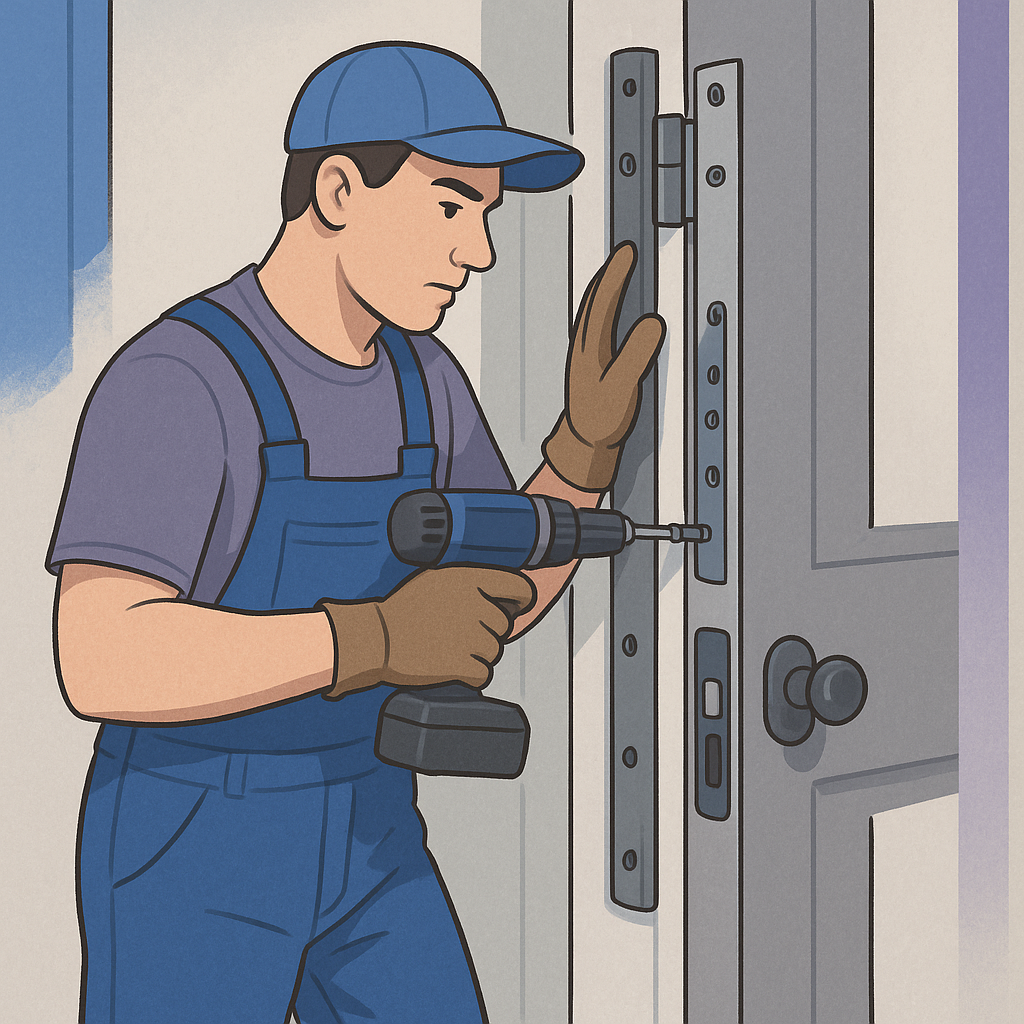
Basic installation covers most doors. But older frames and custom builds have specific vulnerabilities that standard kits don’t fully address. These advanced techniques close those gaps.
Reinforcing Double Doors
Double doors fail at the center seam. That meeting point is the weakest link. Address it directly:
- Install a Vertical Bolt: A vertical bolt pins one door to the floor or frame, eliminating the gap that gets exploited.
- Use a Double Door Security Bar: This bar spans both doors and adds a second layer of resistance across the full width.
Enhancing Door Frame Stability
The frame fails before the door does. Reinforce it and the whole system holds longer:
- Replace Short Screws: Swap in 3-inch screws for hinges and strike plates so they anchor into the wall studs, not just the trim.
- Install a Reinforced Door Frame Kit: Metal reinforcement sleeves fit over the existing frame and prevent the splitting that ends most kick-in attempts.
Door Armor Maintenance and Longevity

Door armor is low-maintenance by design. A few checks per year keep it performing at full strength.
- Inspect Regularly: Every six months, check for loose screws and visible wear on all components.
- Lubricate Moving Parts: Apply lubricant to hinges and locks to prevent rust and keep operation smooth.
- Check Alignment: Confirm the door and components stay aligned. Gaps are vulnerabilities — close them before they’re found.
FAQs About Door Armor
Can Door Armor be Installed on Any Type of Door?
Yes. Door armor adapts to wood, metal, and composite doors. Custom doors may require specialized kits or a professional install to get the fit right.
Does Door Armor Affect Door Aesthetics?
Modern kits are built to be discreet. Most blend with the existing door design, and many come in finishes matched to common door colors and hardware styles.
What is the Cost of Professional Installation?
DIY keeps costs low. Professional installation typically runs $150 to $300 depending on door complexity. For non-standard doors, that investment ensures the armor seats correctly and performs as designed.
Key Performance Indicators for Door Armor

Track these three metrics to measure what your installation actually delivers:
- Reduction in Break-In Attempts: Document incidents before and after installation. The trend should move in one direction.
- Improved Response Time: A reinforced door significantly increases the time required to breach it — time that translates directly into response opportunity.
- User Satisfaction: Ask everyone in the household. Perceived security is a real output. If people feel safer, the system is working.
Case Study: Successful Door Armor Implementation
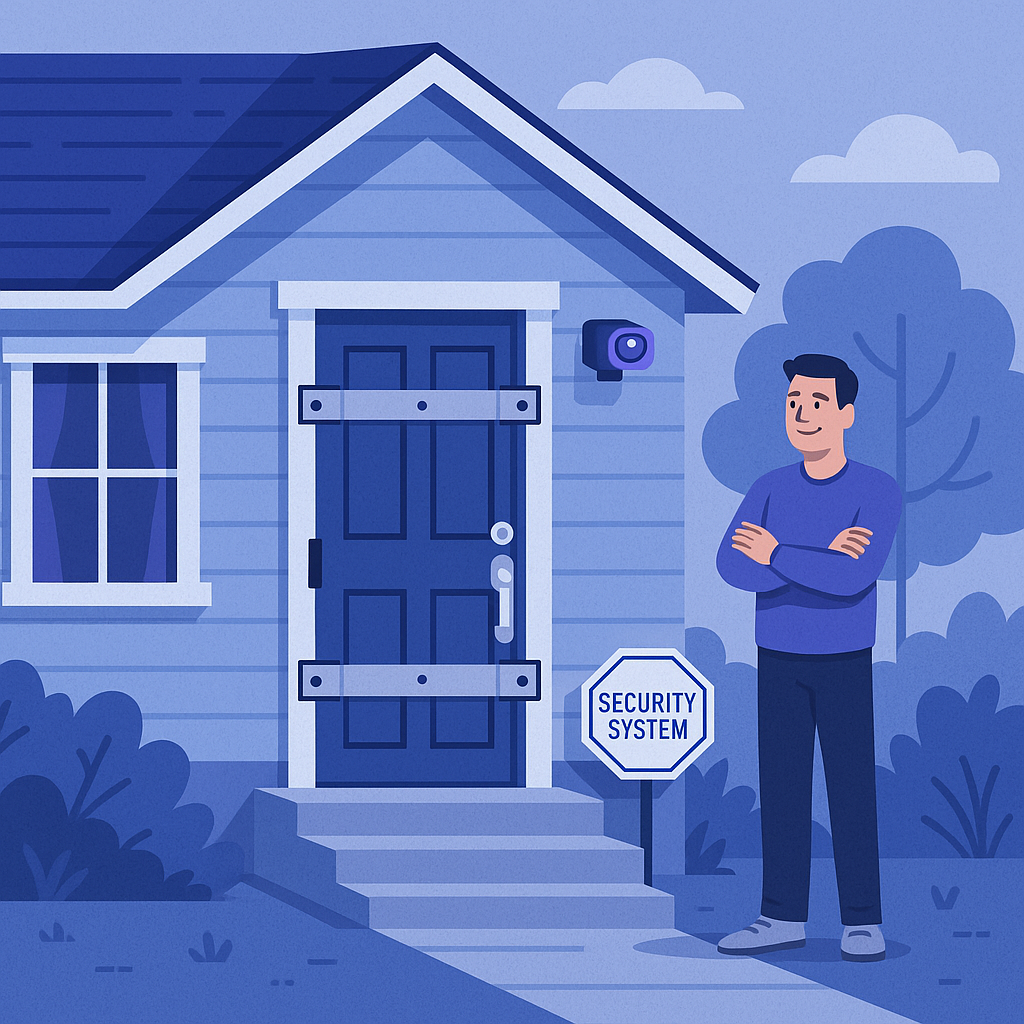
A suburban homeowner had faced repeated break-in attempts over two years. After installing a full door armor kit paired with a monitored security system, the attempts stopped. The entry points held. The family’s sense of security returned. That outcome isn’t a coincidence — it’s what happens when physical hardening and detection work together as a system.
Choosing the Right Door Armor for Various Door Types
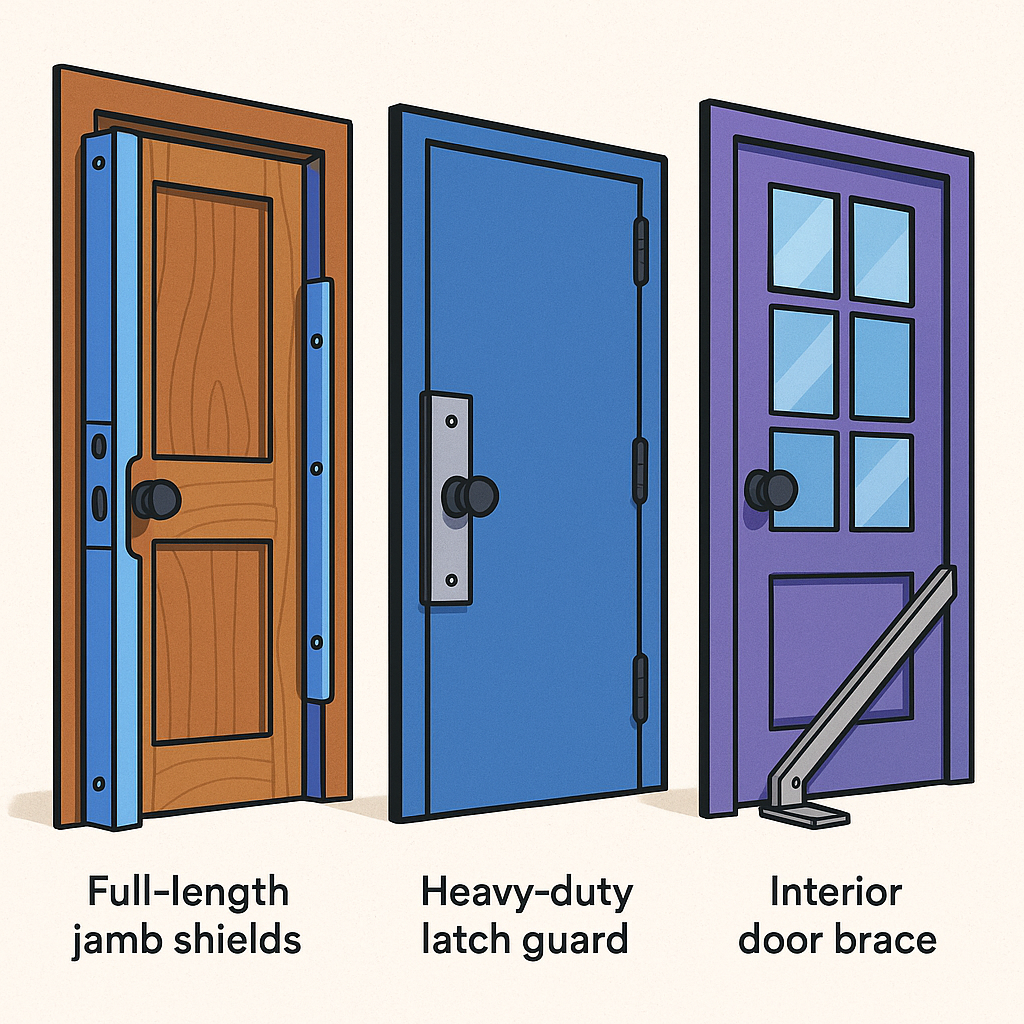
Door material changes the selection criteria. Match your kit to your door or you’re leaving gaps.
- Solid Wood Doors: Full-length jamb shields and hinge reinforcements are essential given the weight and structure of solid wood.
- Metal Doors: Confirm the kit includes drill bits rated for metal surfaces. Standard bits won’t seat the hardware correctly.
- Glass Panel Doors: Add security film to the glass sections and prioritize lock reinforcement in your kit selection.
Integrating Door Armor with Smart Home Technology
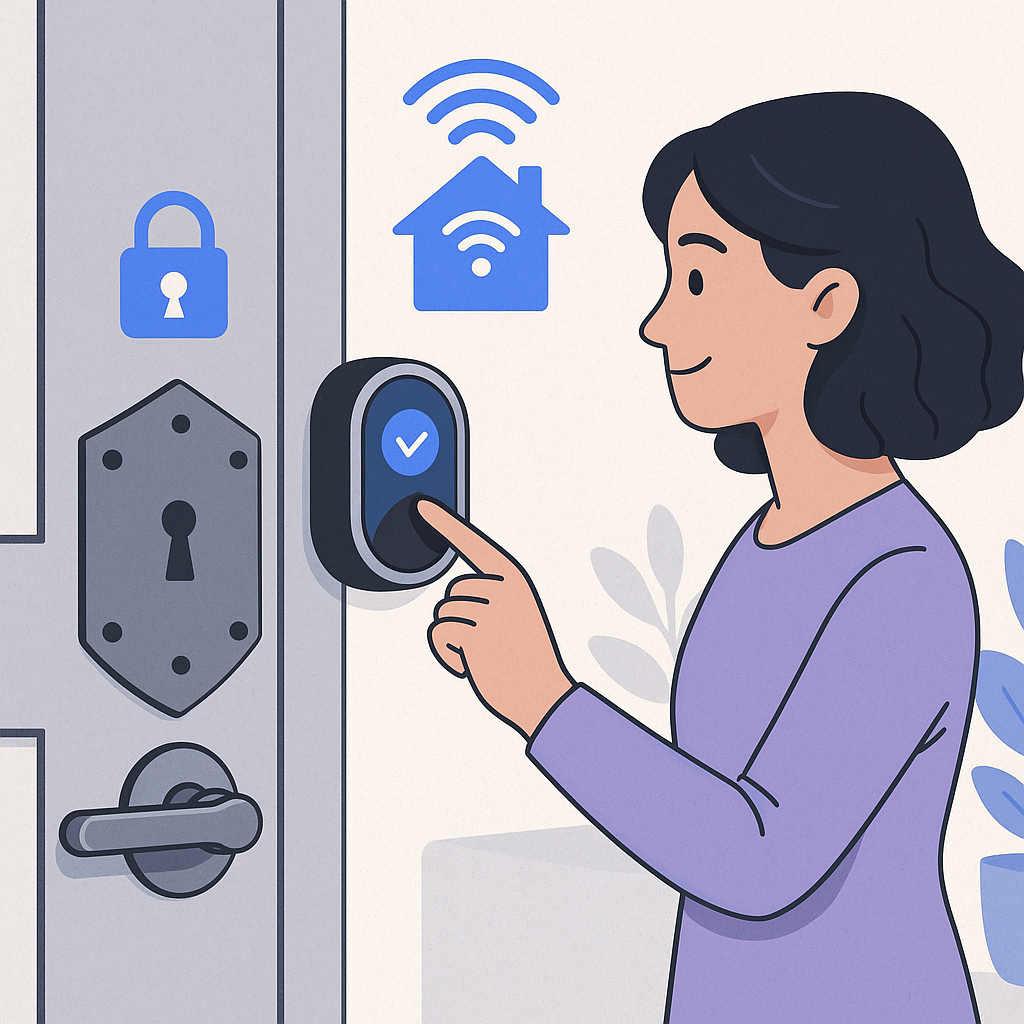
Physical reinforcement is the foundation. Smart technology builds on top of it. The combination gives you a door that resists force and reports activity in real time.
Smart Locks and Door Armor
Pairing door armor with smart locks gives you robust physical security and digital control in one system:
- Remote Access: Monitor and control your locks from anywhere via smartphone, so your door is never left unsecured by accident.
- Automated Locking: Schedule automatic locking at set times — nights, work hours, whenever you need it.
- Access Logs: Every entry and exit is recorded, giving you a clear picture of who moves through your home and when.
Integration with Home Security Systems
Layer your door armor into a broader security system for full-perimeter coverage:
- Real-Time Alerts: Get instant notifications if your door is tampered with, so you can respond before a breach completes.
- Camera Integration: Sync with doorbell cameras to visually confirm visitors and flag suspicious activity at entry points.
Voice-Activated Security Enhancements
Voice assistants add a hands-free control layer to your door security:
- Voice Commands: Lock or unlock doors without touching a device — useful when your hands are full or you’re moving fast.
- Routine Setup: Build routines that lock all doors automatically when you say “Goodnight” or “I’m leaving.”
Additional Considerations for Extreme Weather Conditions
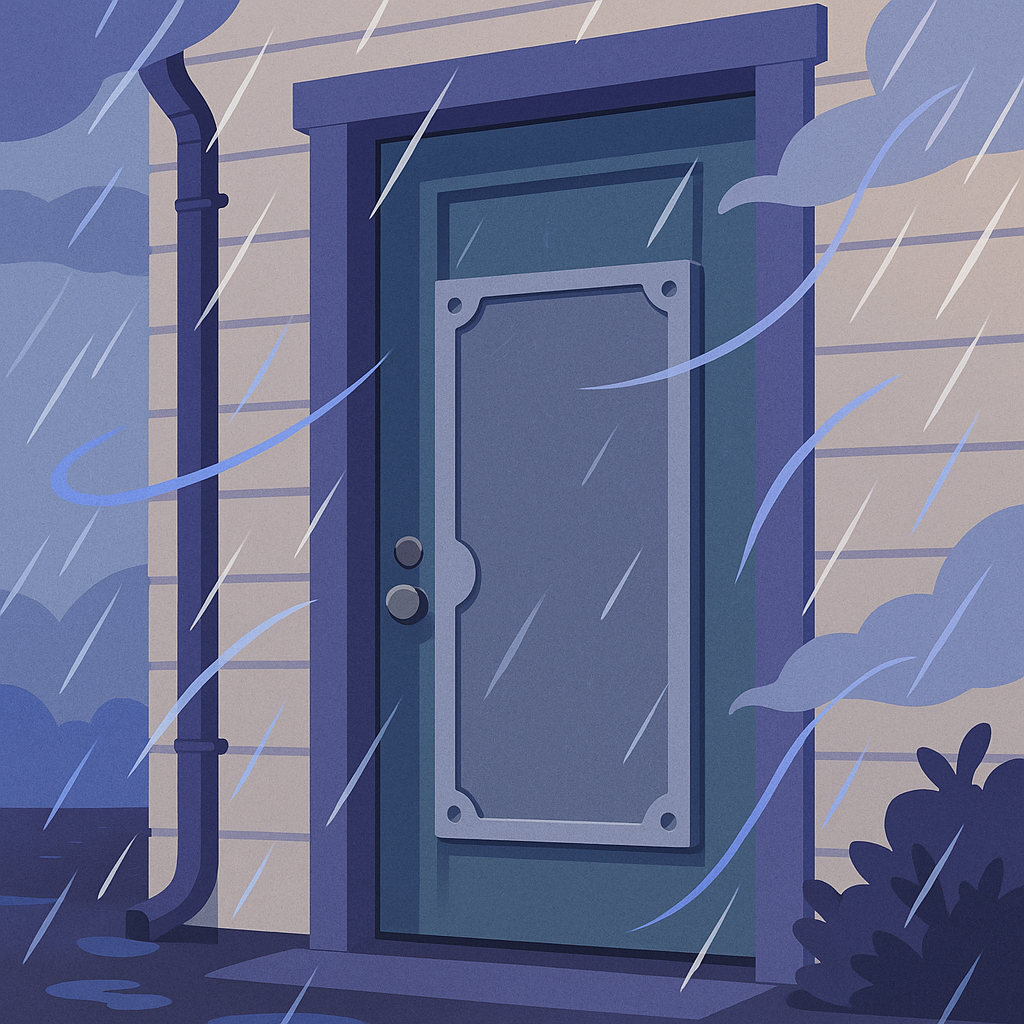
In regions with severe weather, door armor delivers structural benefits beyond security. That’s a second return on the same investment.
- Weatherproofing: Confirm your kit uses weather-resistant materials. Rust and corrosion degrade performance over time.
- Wind Resistance: A reinforced door holds better under high winds, reducing storm damage risk at the most exposed point of your home.
- Thermal Insulation: Certain door armor components improve the door’s thermal seal, which can meaningfully reduce energy costs year-round.
Checklist for Selecting and Installing Door Armor
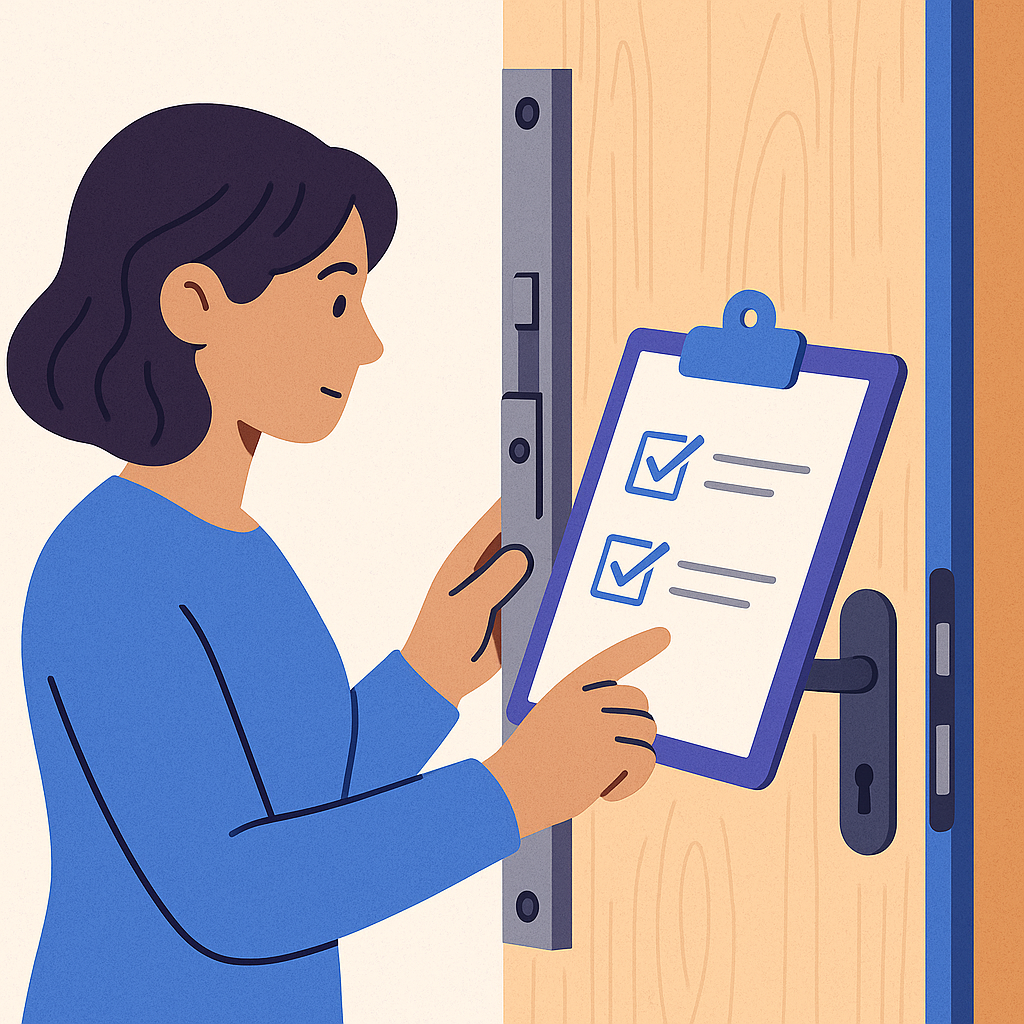
Run through this before you buy or install anything:
- Assess Door Type: Identify the material and structure of your door so you select a compatible kit.
- Evaluate Security Needs: Be honest about your location and incident history. That context drives the right product choice.
- Research Products: Compare kits on features, verified reviews, and compatibility with your specific door.
- Prepare Installation Area: Clear the workspace and stage all tools before you start. Interruptions mid-install create mistakes.
- Follow Manufacturer Instructions: The kit instructions exist for a reason. Deviating from them compromises the result.
- Test Installation: Once everything is secured, test the door for smooth operation and confirm every component is tight and properly seated.

Leave a Reply