

DIY vs. Professional Door Reinforcement: Pros and Cons
Most break-ins don’t start with a picked lock. They start with a kicked door. If your entry point folds under one boot, everything behind it is exposed. Door reinforcement is not a luxury upgrade. It is the baseline. The question isn’t whether to do it—it’s whether you do it yourself or bring in a professional.

Setting the Scene: Why Door Reinforcement Matters
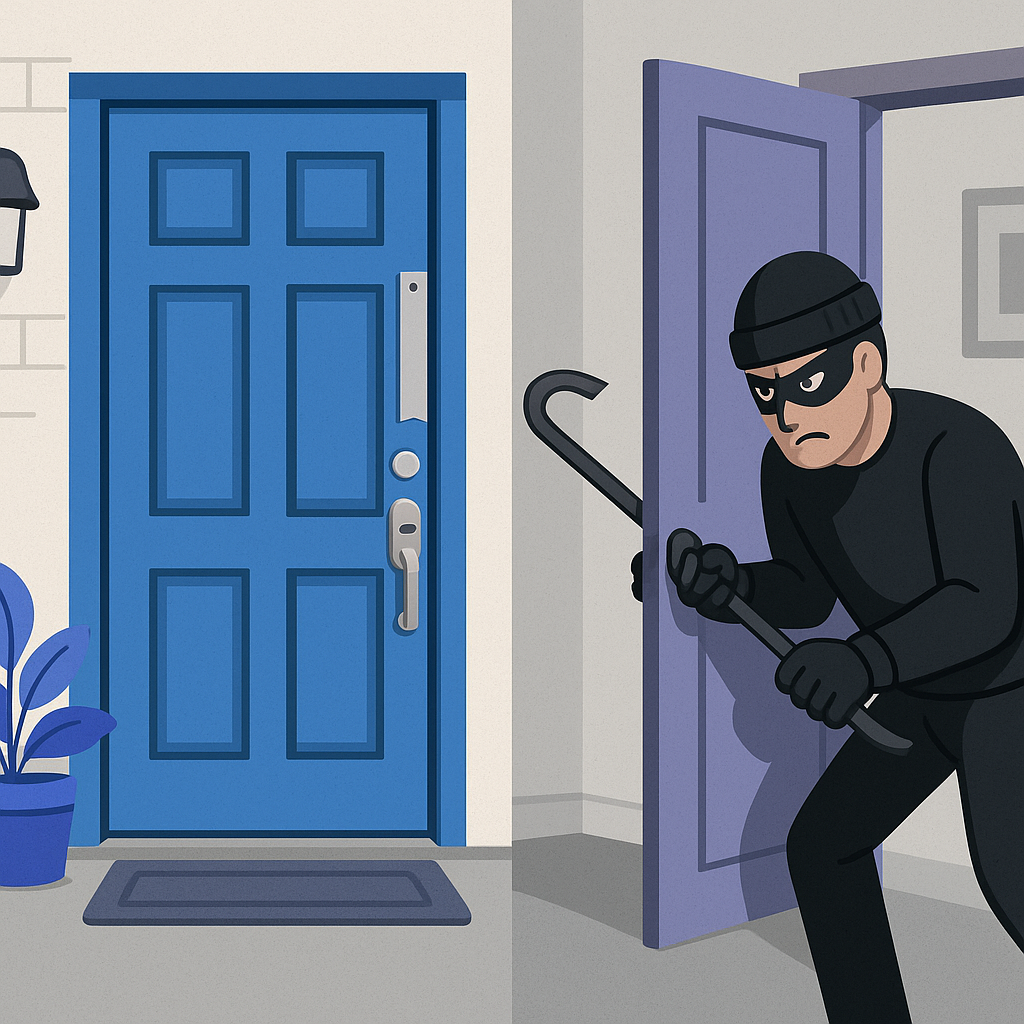
The data is not subtle. A significant share of forced entries happen at the front door. Burglars are not patient—they want fast access or they move on. A reinforced door changes that calculation. It buys time. Time triggers alarms, alerts neighbors, and sends intruders elsewhere. Reinforcing your door is not paranoia. It is a measured decision with a clear return.
The DIY Approach: Pros and Cons
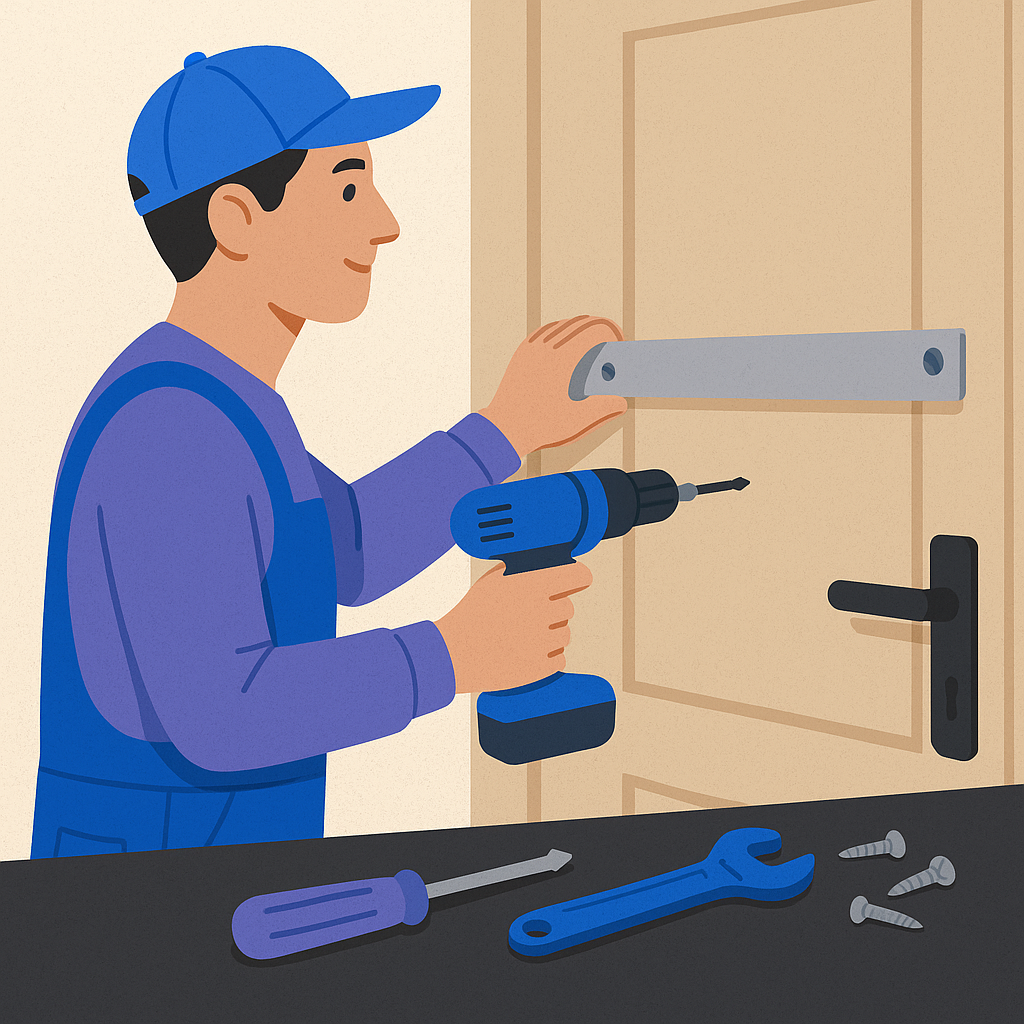
Going the DIY route makes sense if you are budget-conscious, comfortable with tools, and willing to own the outcome. Here is what you are actually signing up for.
Pros of DIY Door Reinforcement
- Cost Control: Reinforcement kits run $50–$150 at most hardware stores. You keep the labor cost in your pocket and put it toward better materials if needed.
- Full Flexibility: You choose the components, the method, and the timeline. No one else’s preferences override yours.
- Immediate Action: You don’t wait on a contractor’s calendar. When the materials arrive, you move.
Cons of DIY Door Reinforcement
- Skill Gap: Kits come with instructions, but proper installation requires real attention to detail. A misaligned strike plate is worse than no upgrade at all.
- Time Investment: First-timers will spend more hours than they expect, especially when they hit unexpected frame conditions.
- No Safety Net: If you install it wrong, no one catches it. The error only surfaces when the door is tested under pressure.
The Professional Route: Pros and Cons
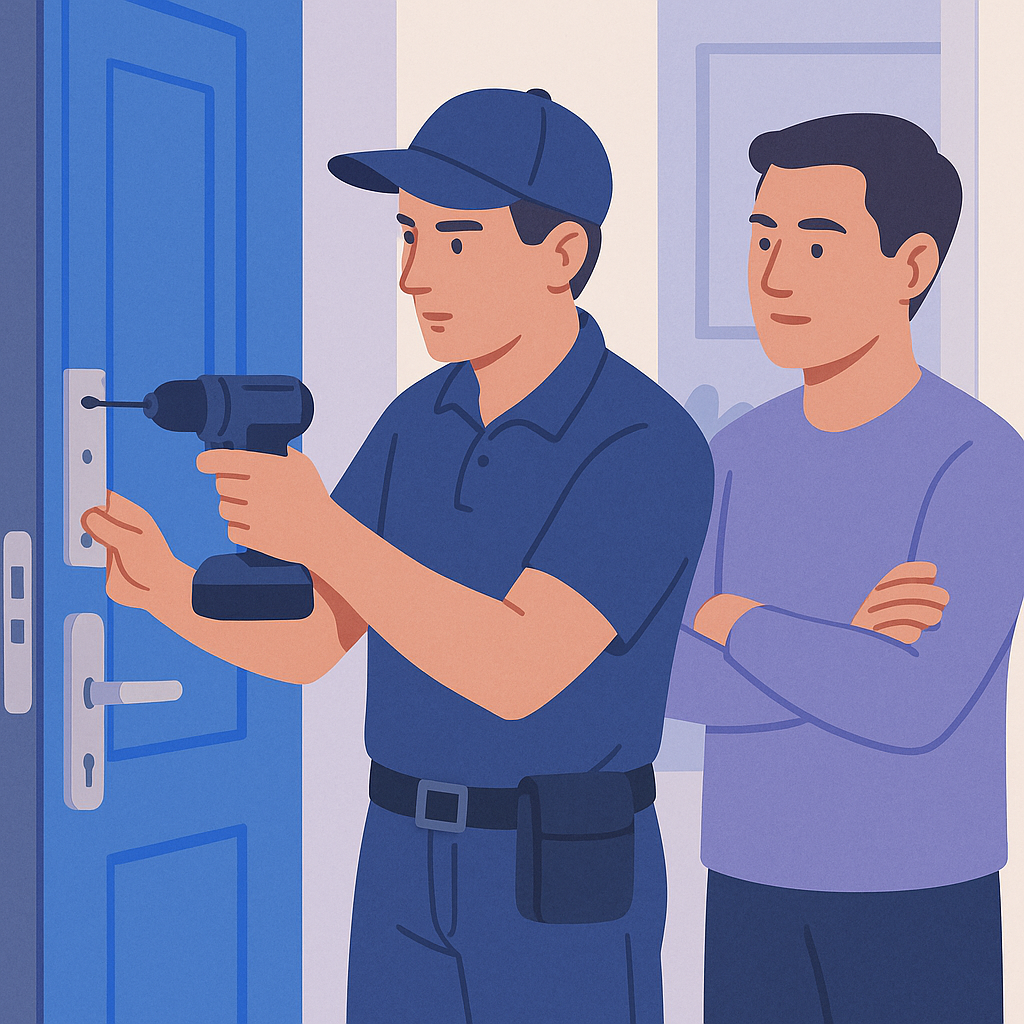
Hiring a professional shifts the execution risk off your plate. That has real value. But it comes with trade-offs worth understanding before you book the appointment.
Pros of Professional Door Reinforcement
- Verified Expertise: Professionals have seen dozens of door configurations. They diagnose problems you would not think to look for and install components correctly the first time.
- Warranty Coverage: Most reputable services back their work. If something fails, you have recourse.
- Speed: A professional typically completes the job within a single day. Minimal disruption, maximum output.
Cons of Professional Door Reinforcement
- Higher Upfront Cost: Professional services run $300–$800 depending on scope and materials. That is a real number for most households.
- Scheduling Friction: You are on their timeline, not yours. That delay can matter if your security concern is urgent.
- Less Customization by Default: Professionals default to standard materials unless you push for alternatives. Know what you want before the conversation starts.
Tools and Materials: What You’ll Need
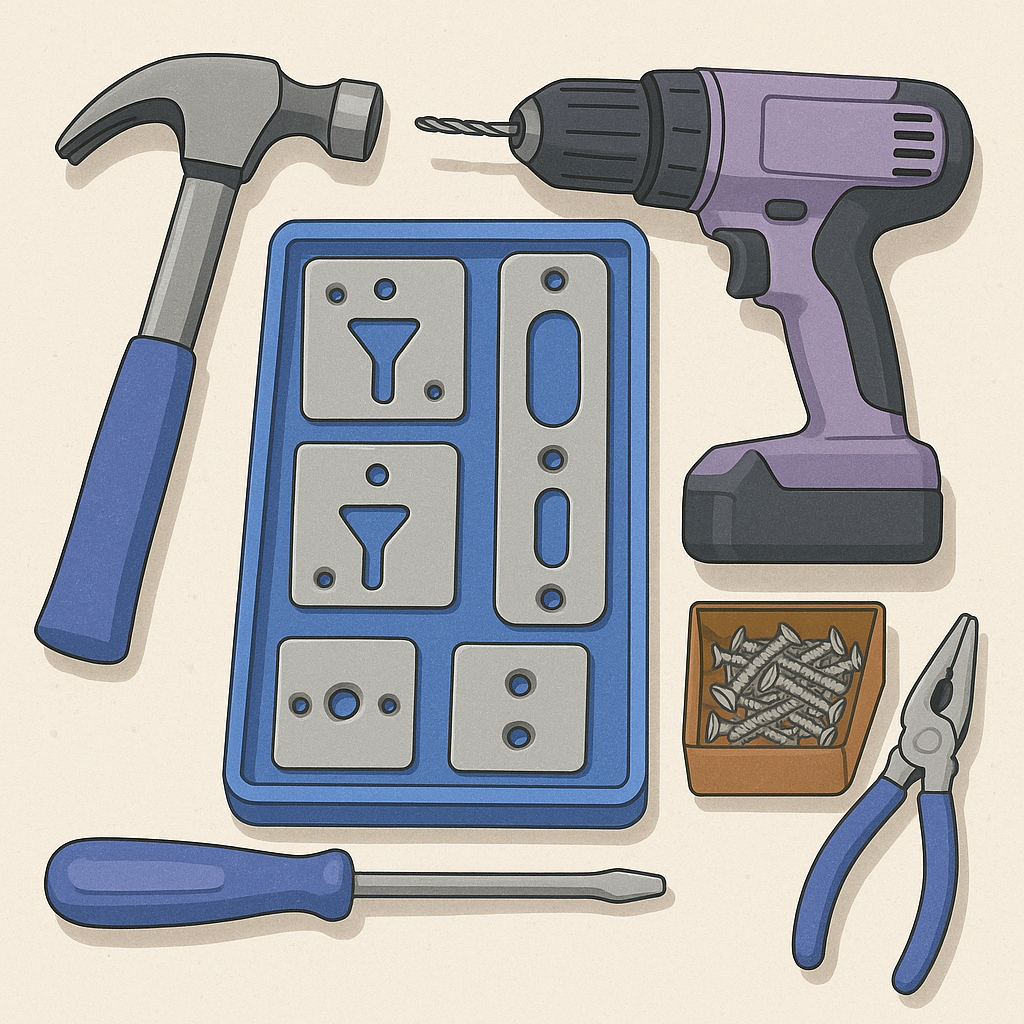
Regardless of which path you take, the core components are the same. Know what goes into a proper installation before you start shopping.
- Reinforcement Kits: Available at most hardware stores. These include plates, screws, and brackets. Brands like Door Armor offer comprehensive setups worth considering.
- Drill and Drill Bits: Non-negotiable. You need the right bit for your door material or the screws won’t seat correctly.
- Measuring Tape: Precision matters. Sloppy measurements produce gaps that undermine the entire installation.
- Level: Everything needs to sit straight. A crooked install creates stress points that fail under pressure.
Professionals arrive with all of this. DIYers need to source quality equipment before starting—cutting corners on tools produces the same result as cutting corners on materials.
Step-by-Step Guide to DIY Door Reinforcement
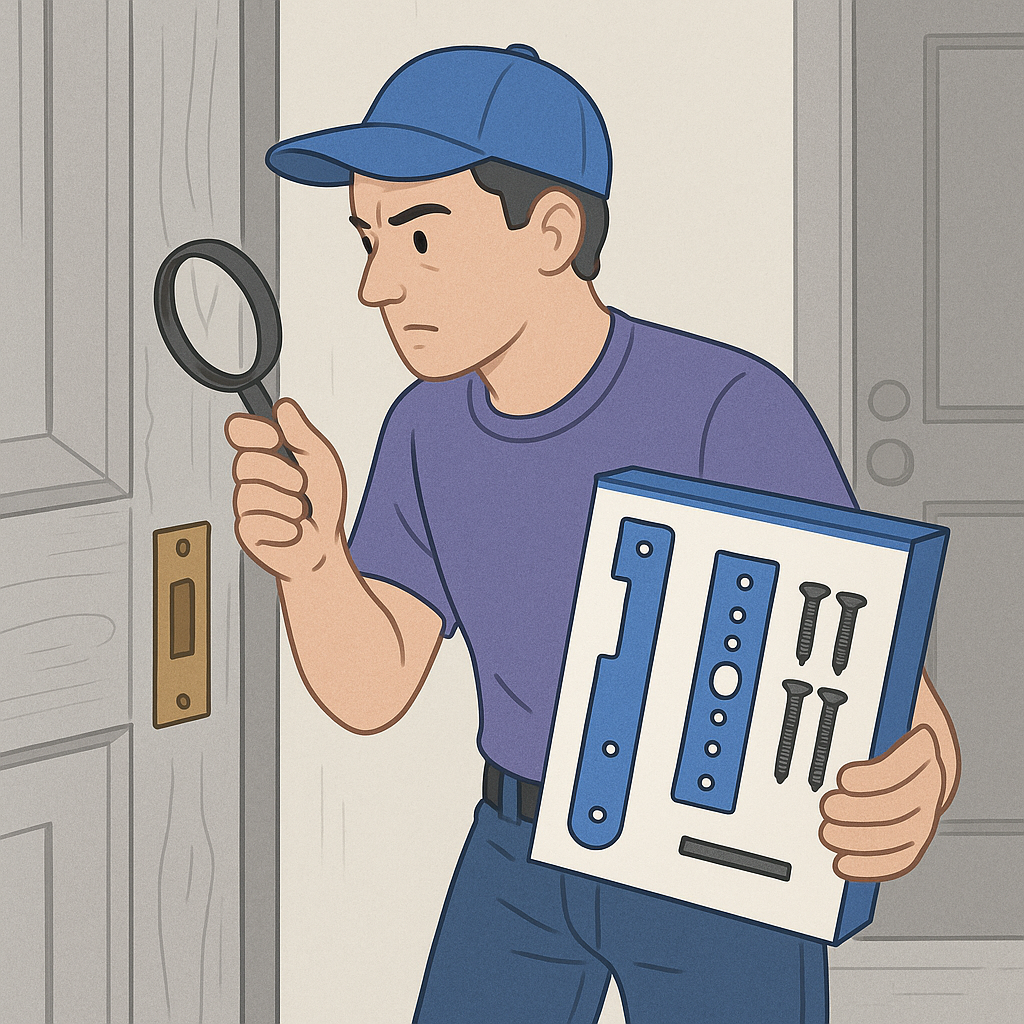
If you decide to handle this yourself, execute it properly. Here is the sequence that produces a solid result.
- Assess Your Door First: Look for existing damage, rot, or frame weakness. Reinforcing a compromised door is a waste of time and money.
- Choose the Right Kit: Match the kit to your door’s size and material. A kit designed for a steel door will not perform correctly on hollow-core wood.
- Stage Your Tools: Have everything within reach before you start. Stopping mid-install to find a bit costs you accuracy.
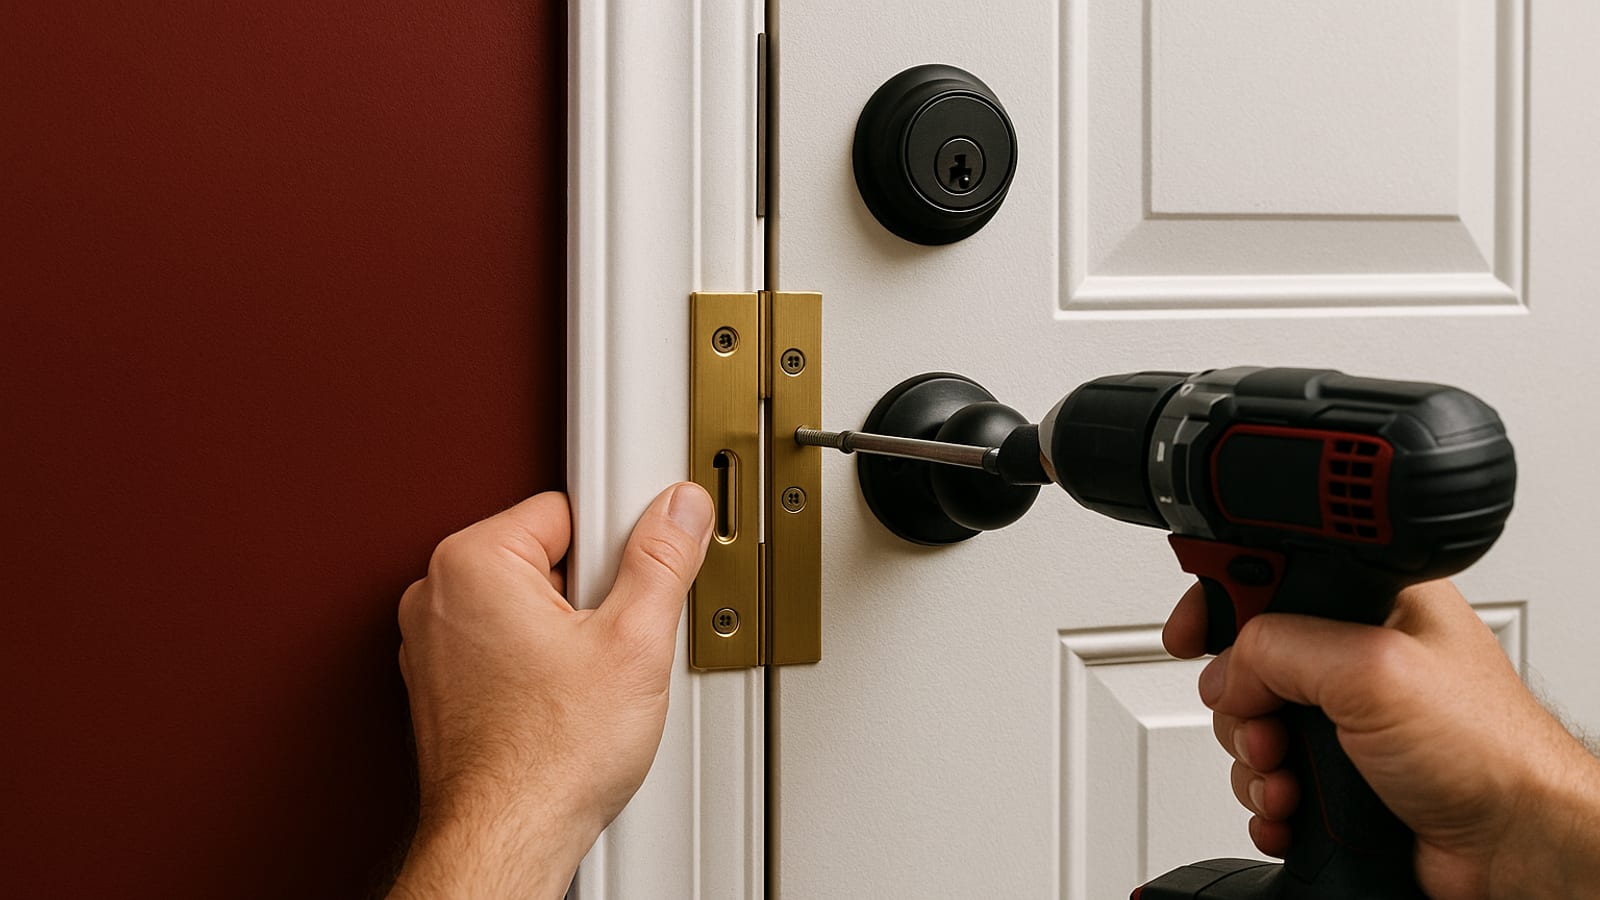
- Install the Door Jamb Armor: Drill the jamb armor into the door frame. This is the component that absorbs kick force and prevents frame splitting.
- Upgrade the Hinge Screws: Swap existing short screws for longer ones that reach the wall stud. Standard hinge screws are one of the most overlooked vulnerabilities.
- Reinforce the Strike Plate: Install a heavy-duty strike plate with 3-inch screws that anchor into the stud behind the frame. This single step dramatically increases kick resistance.
Done correctly, these six steps produce a door that resists forced entry far better than the factory default.
Actionable Next Steps
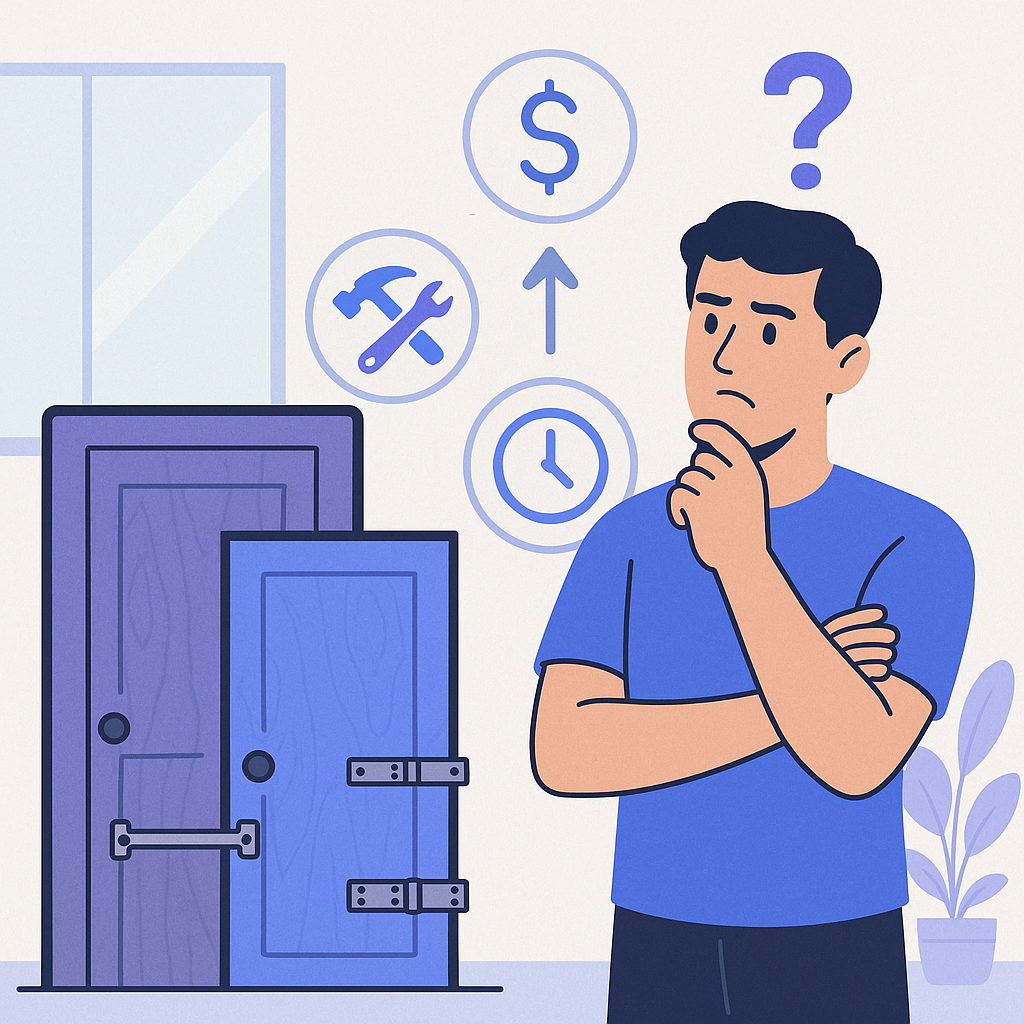
You now have the full picture. Weigh your budget, your skill level, and how quickly you need this done. Neither path is wrong—the wrong move is doing nothing. Your door is either a barrier or an invitation. You decide which.
For more practical guidance on home security and related projects, visit our blog at ArcanoLabs, where we publish actionable content built for people who take their decisions seriously.
Checklist for Assessing Your Door’s Security Needs

Before you spend a dollar on reinforcement, audit what you already have. Most homeowners skip this step and end up fixing the wrong things first.
- Door Material: Solid wood and metal resist force. Hollow-core doors do not. Know what you are working with before you plan anything else.
- Frame Condition: Cracks and rot in the frame make every other upgrade irrelevant. The frame is where most kicks land.
- Hinge Exposure: Exterior-facing hinges are a direct vulnerability. Hinge bolts close that gap without replacing the door.
- Lock Quality: A weak lock on a strong door is still a weak system. Deadbolts and smart locks raise the bar significantly.
- Strike Plate Depth: If the screws don’t reach the wall stud, the plate will pull free under one solid kick. Check screw length before anything else.
- Door Gap: A wide gap between door and frame gives a pry bar room to work. Keep it tight.
Run through this list before you buy a single component. It tells you exactly where your money needs to go.
Case Study: Successful Door Reinforcement
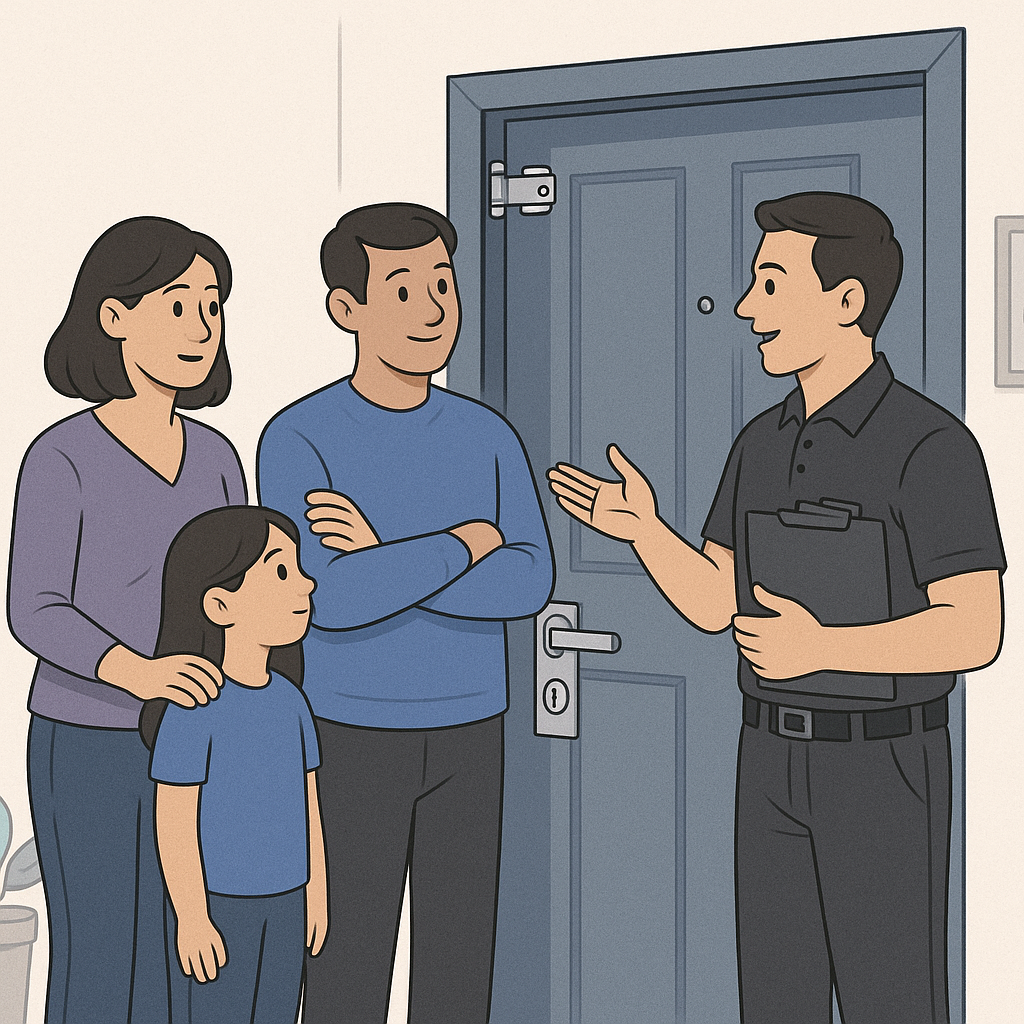
The Johnson family learned the hard way. After a break-in attempt, they stopped guessing and brought in a professional security company. The results were concrete.
- Structural Upgrade: The team installed a steel door frame reinforcement and replaced the existing locks with high-security deadbolts. The door became a different object entirely.
- Preserved Aesthetics: Every component was fitted to match the home’s existing design. Security upgrades don’t have to announce themselves.
- Follow-Up Inspection: The service included a post-installation check to confirm everything held correctly under normal use conditions.
The Johnsons reported a measurable shift in how secure they felt at home—and a visible deterrent effect on the property. That outcome is repeatable. The inputs are known. Execute them.
Key Performance Indicators (KPIs) for Measuring Reinforcement Success
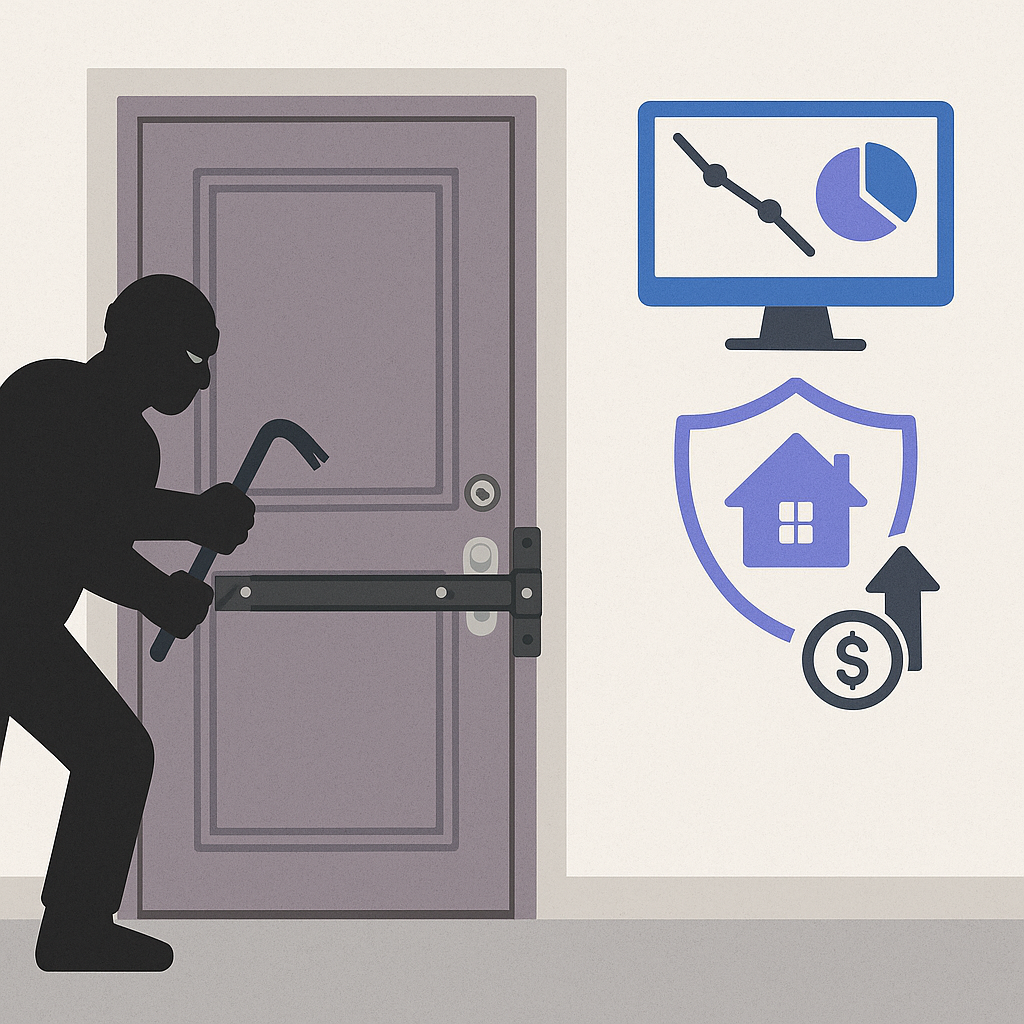
Security improvements should be measurable. Track these indicators to know whether your reinforcement is actually performing.
- Forced Entry Attempts: Any reduction in incidents post-reinforcement is a direct signal the upgrade is working as a deterrent.
- Insurance Premiums: Some insurers lower premiums when documented security upgrades are in place. That is a financial return on a safety investment.
- Household Confidence: Check in with everyone in the home. A reinforced entry point changes how people feel inside it. That matters.
- Maintenance Frequency: Track how often reinforced components need adjustment or repair. High-quality installs require minimal upkeep.
These metrics give you a clear read on whether the work you did is holding up over time—and where the next upgrade should go.
FAQs on Door Reinforcement

Straight answers to the questions that come up most often.
- Can I reinforce a door without replacing it? Yes. Strike plate upgrades, hinge bolts, and jamb armor all add meaningful strength without touching the door itself.
- How often should reinforcement be inspected? Once a year is the standard. Also check after any major weather event that could stress the frame.
- Will reinforcement change how my door looks? Modern solutions are designed to be unobtrusive. A well-installed upgrade is nearly invisible from the outside.
- Is professional reinforcement worth the cost? If you want verified installation and warranty coverage, yes. The price gap between DIY and professional narrows when you factor in the cost of a mistake.
Advanced Techniques for Enhanced Door Security
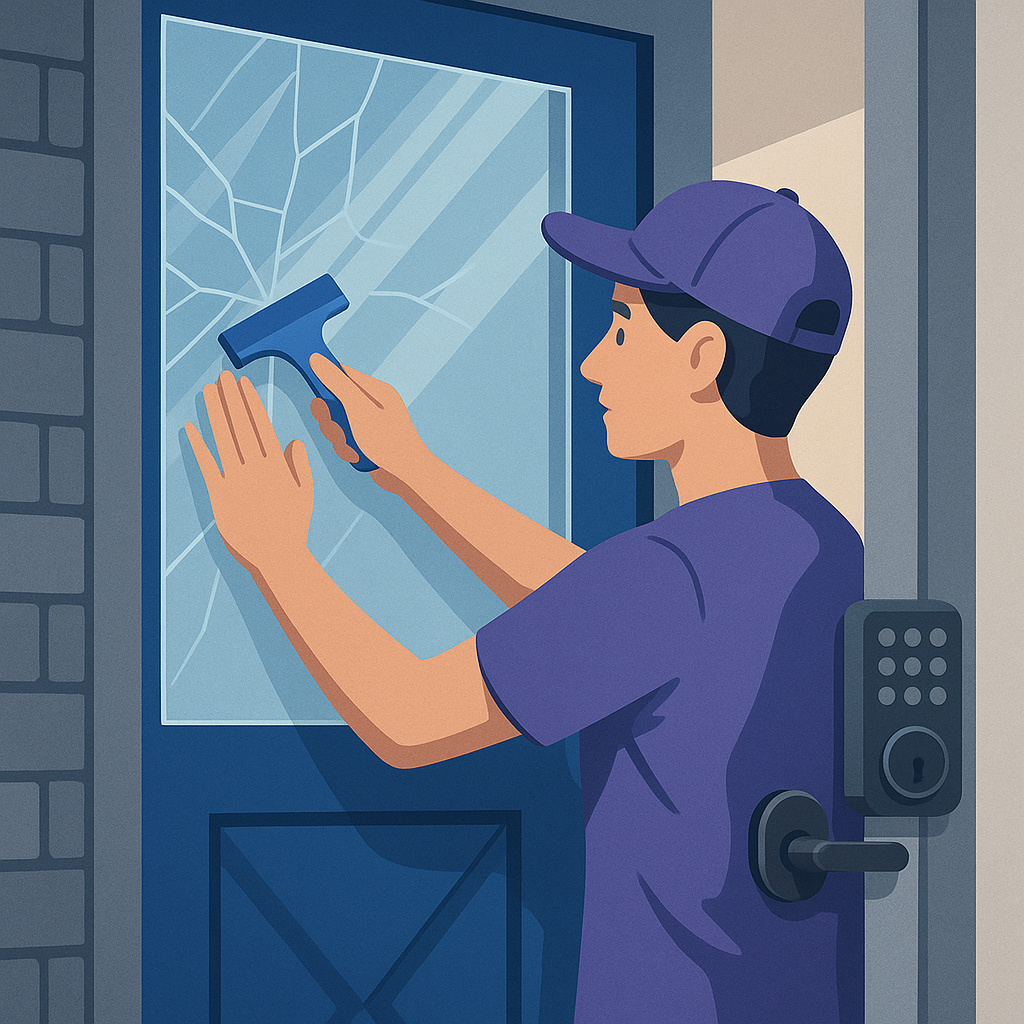
Once the fundamentals are locked in, these upgrades push your entry point’s security to a different level entirely.
- Security Film: Applied to glass door panels, this film prevents shattering on impact. An intruder who can’t break the glass cleanly loses their advantage fast.
- Smart Locks: Remote access, tamper alerts, and access logs give you real-time visibility into who is at your door and when. Technology and physical reinforcement working together is a hard combination to beat.
These are not replacements for solid fundamentals. They are multipliers. Get the frame, hinges, and strike plate right first. Then layer in the advanced tools.

Leave a Reply