
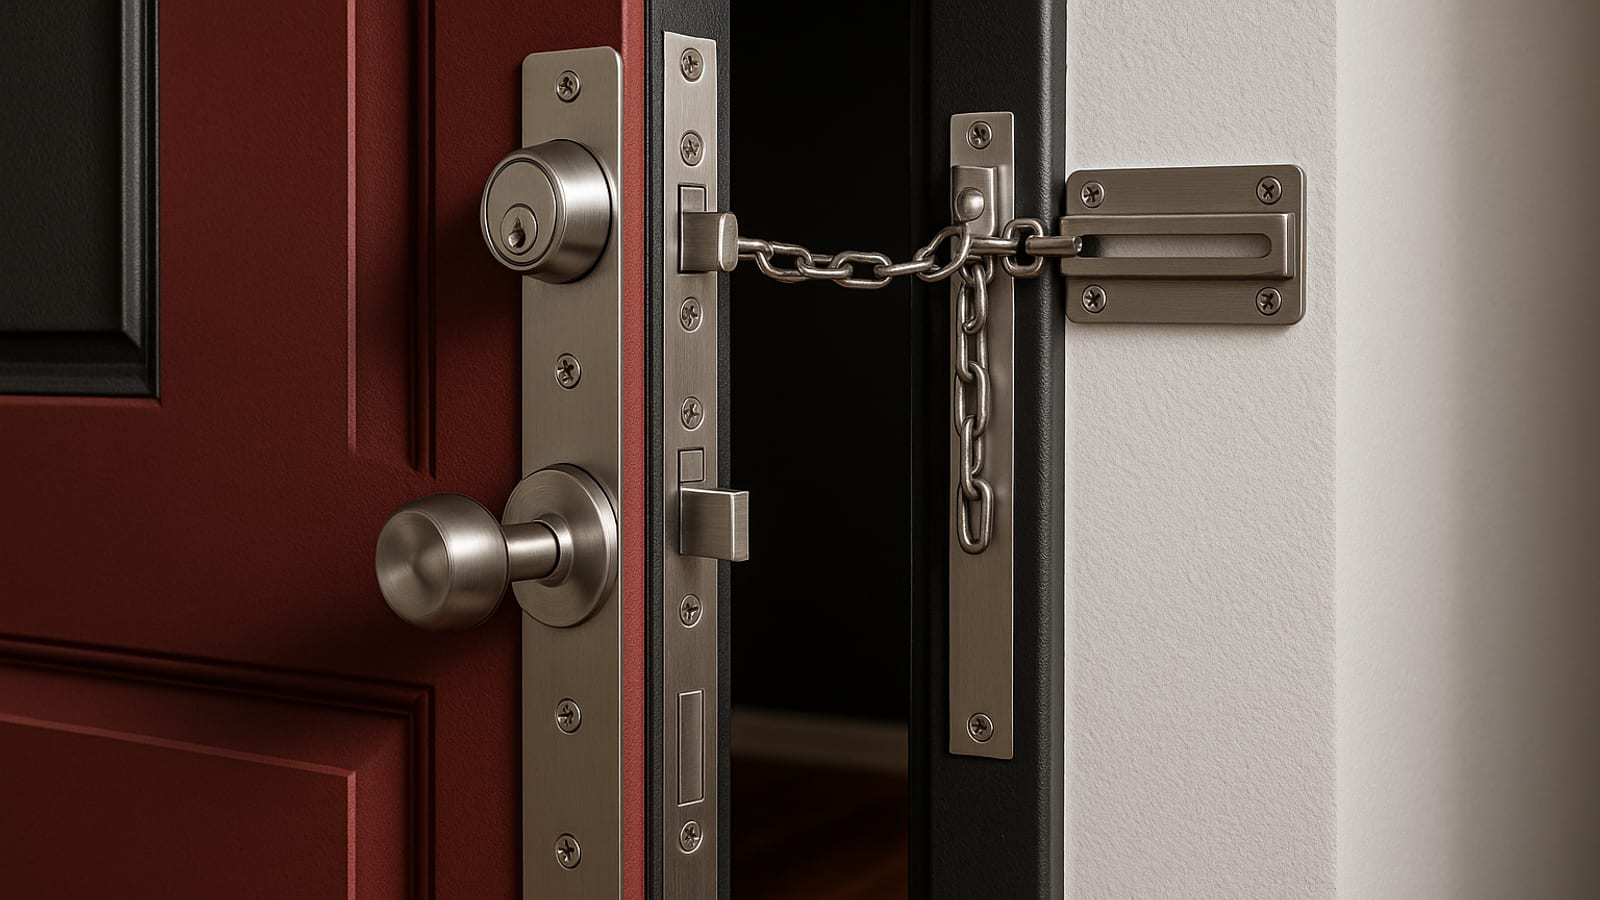
The Complete Guide to Door Reinforcement Kits: Everything Explained
Most forced entries take under ten seconds. The door doesn’t fail — the frame does. If you want to stop a kick-in before it happens, you need to understand what actually breaks and how to fix it before someone tests it for you. This guide covers door reinforcement kits from the ground up: what they include, which kit fits your door, and exactly how to install one correctly. Homeowner, renter, landlord — the blueprint works the same.
Understanding Door Reinforcement Kits
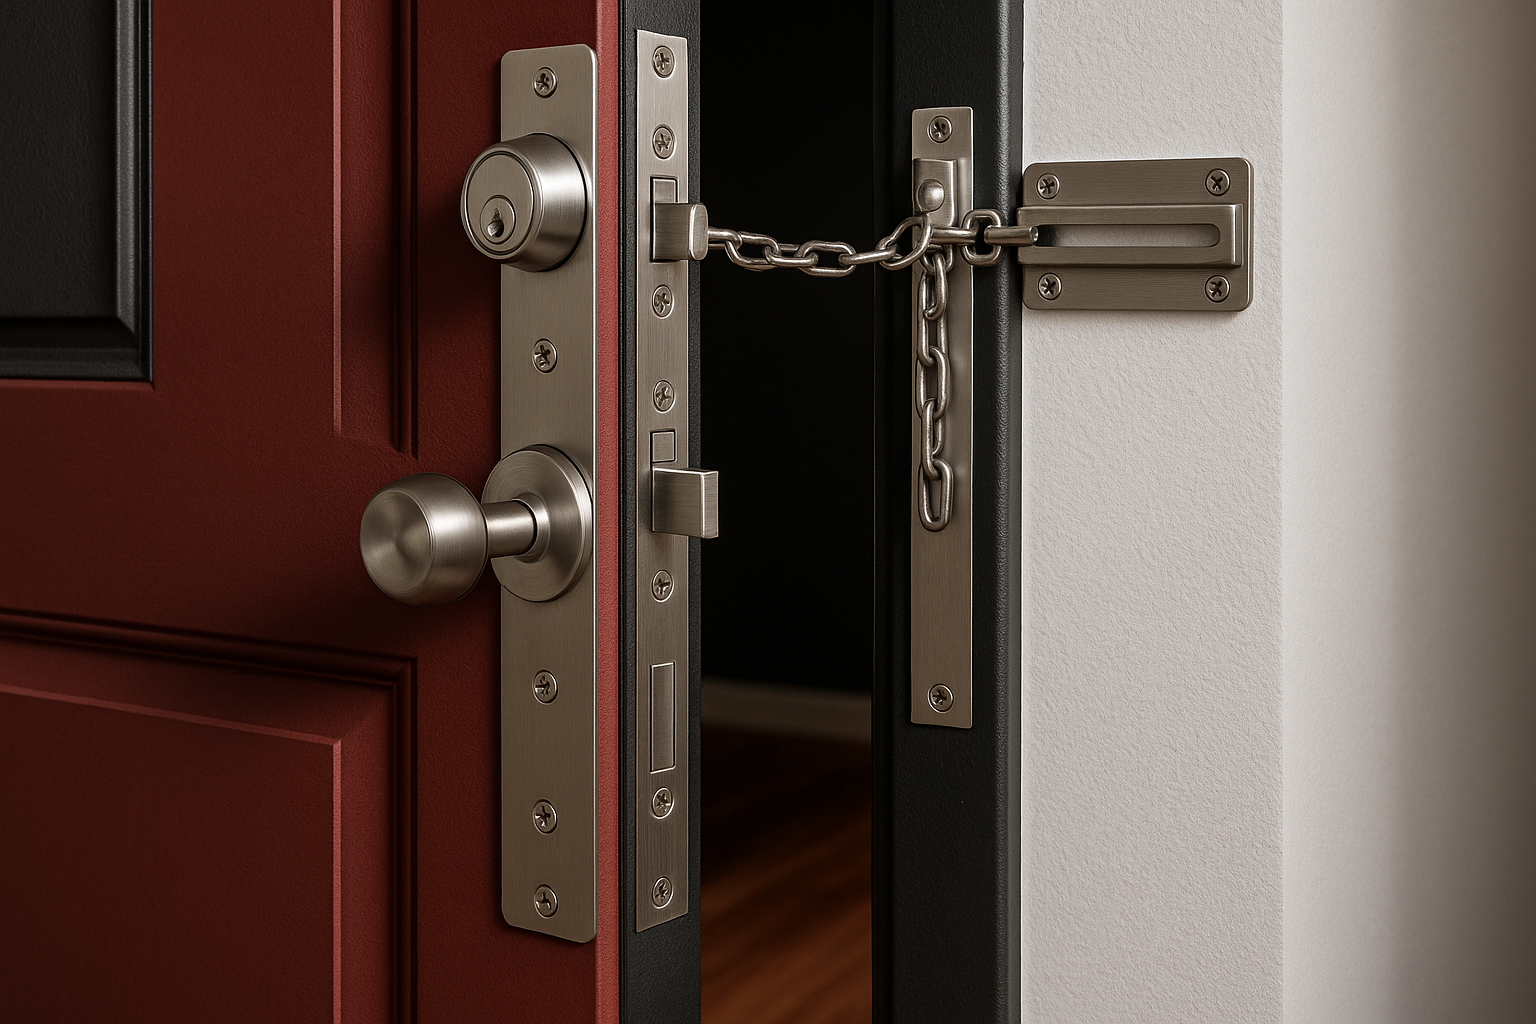
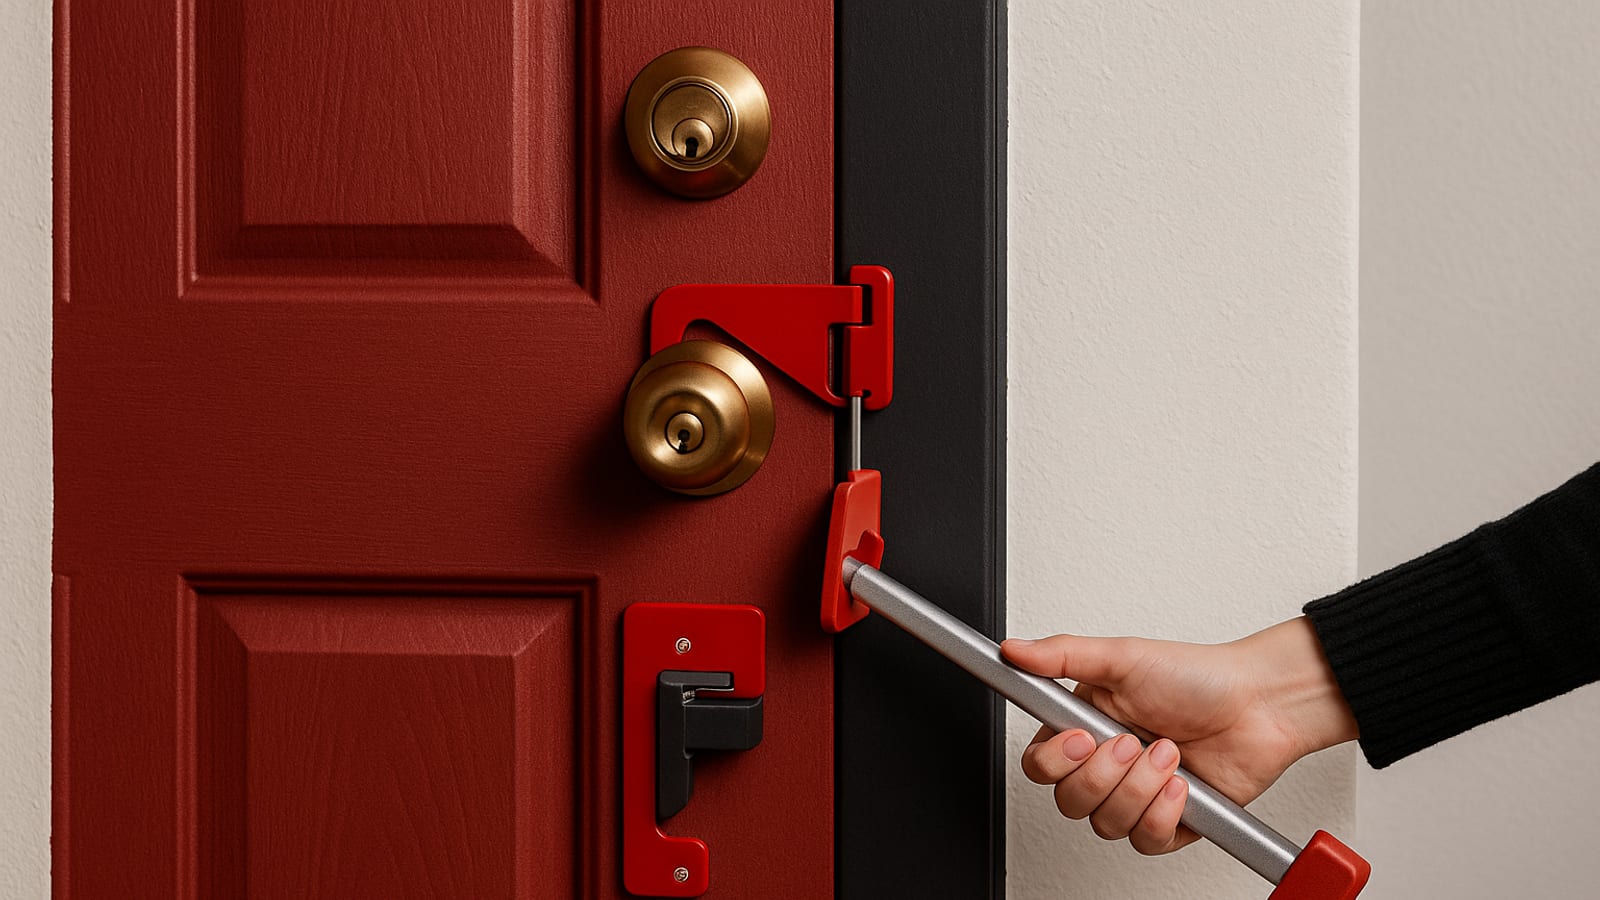
A door reinforcement kit hardens the three points that fail under force: the strike plate, the door jamb, and the hinges. Most residential doors ship with shallow strike plates held by half-inch screws. One solid kick transfers enough energy to split the frame clean. A reinforcement kit distributes that force across a wider steel surface anchored deep into the wall stud — and the frame survives.
For standard front and back doors, the Single Door Security Kit is the go-to starting point, priced around $79. It includes every component you need to fortify a single entry door without calling a contractor.
Key Components of a Door Reinforcement Kit
- Strike Plate: Reinforces the door frame and absorbs impact at the latch point.
- Door Jamb Reinforcement: Strengthens the frame to prevent splitting under lateral force.
- Hinge Shields: Lock the hinge side down so the door can’t be pried from that edge.
How to Stop Your Door from Being Kicked In
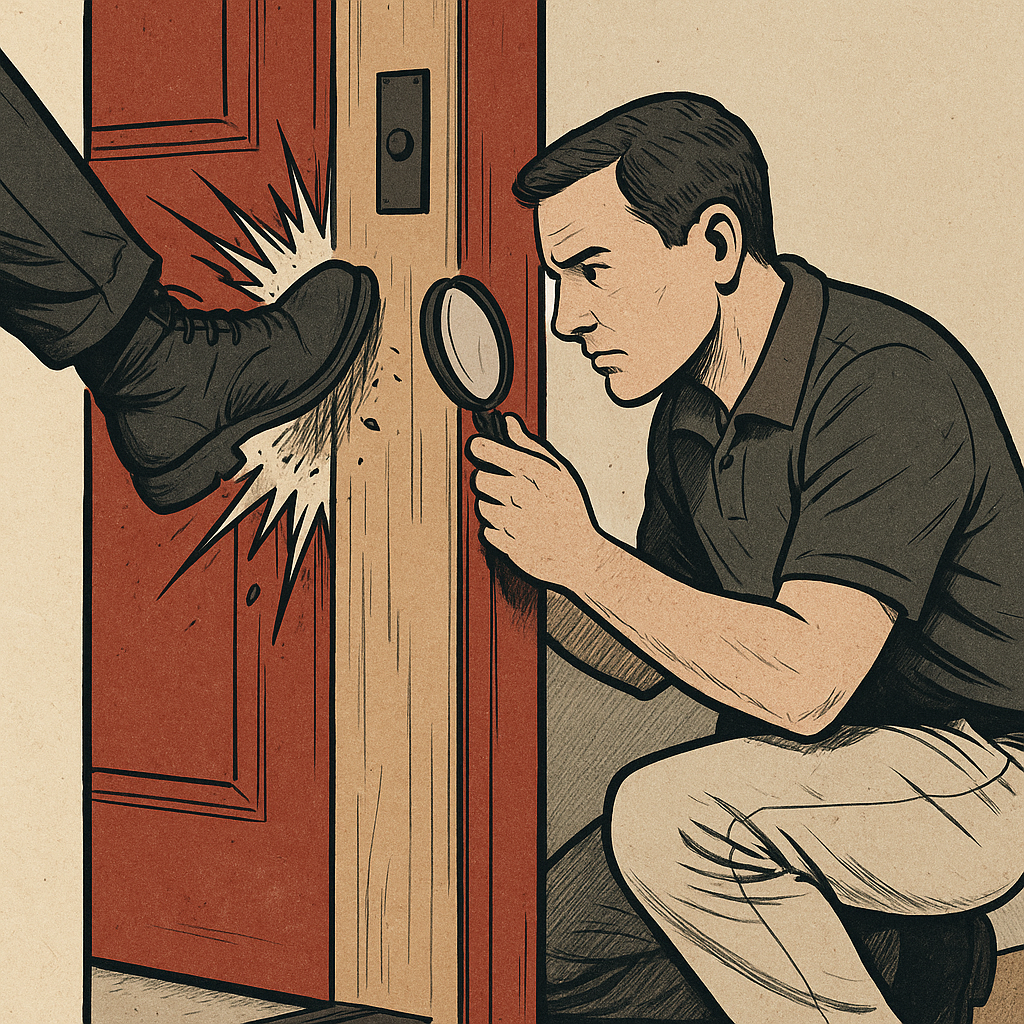
Locking the door is the baseline. Reinforcing it is the actual work. Follow this sequence:
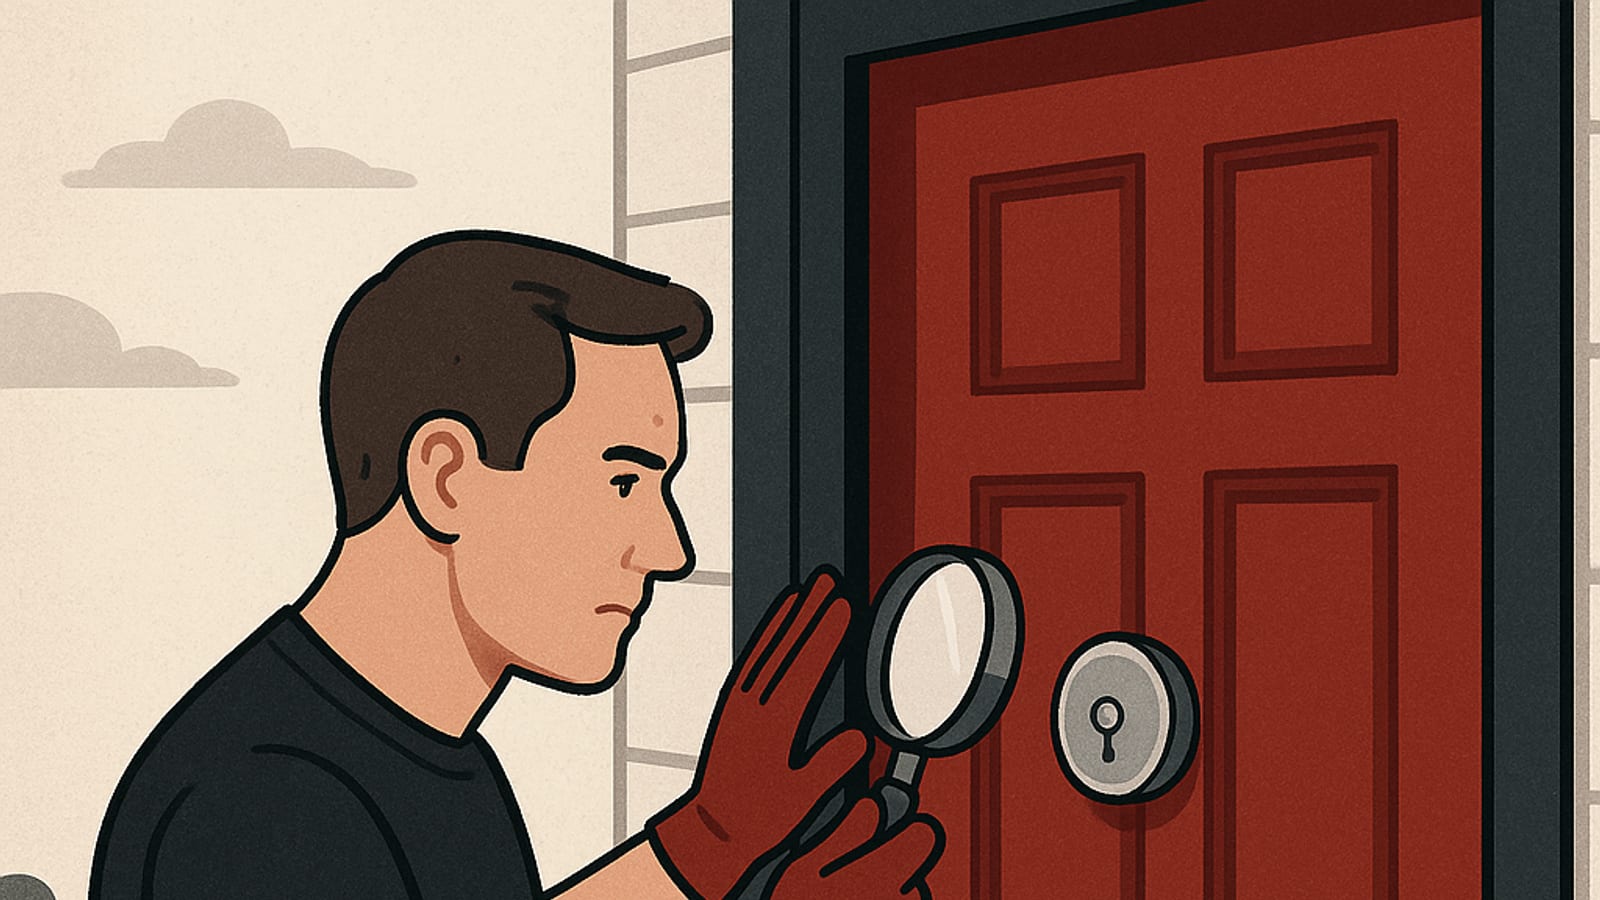
- Assess Your Door: Inspect the door and frame for wear, cracks, or soft spots. A compromised frame needs attention before any hardware goes on.
- Select the Right Kit: Match the kit to your door type. The Double Door Security Kit is built for French and double doors, priced around $149.
- Install the Strike Plate: Drive long screws through the plate and into the wall stud — not just the jamb. That’s where the holding power lives.
- Reinforce the Door Jamb: Attach the jamb reinforcement plate so force spreads across the entire frame instead of concentrating at one point.
- Secure the Hinges: Install hinge shields to eliminate the pry-off vulnerability on the hinge side.
Choosing the Right Door Reinforcement Kit
The right kit depends on your door configuration. Doors with side lights need a different solution — the Side Light Door Security Kit, priced around $129, is engineered specifically for entry doors flanked by decorative glass panels. Don’t buy a standard kit and try to adapt it. Buy the one built for your setup.
Factors to Consider
- Door Type: Single, double, or sliding.
- Material: Wood, metal, or composite.
- Budget: Kits range from $79 to $149 depending on configuration.
Additional Security Measures
Door reinforcement is the foundation. Build on it:
- Window Security Film closes the glass break-in vector that a reinforced door leaves open.
- Security cameras create visual deterrence before anyone reaches the door.
- Smart locks add access control and remote monitoring without replacing your existing deadbolt hardware.
Step-by-Step Implementation Guide
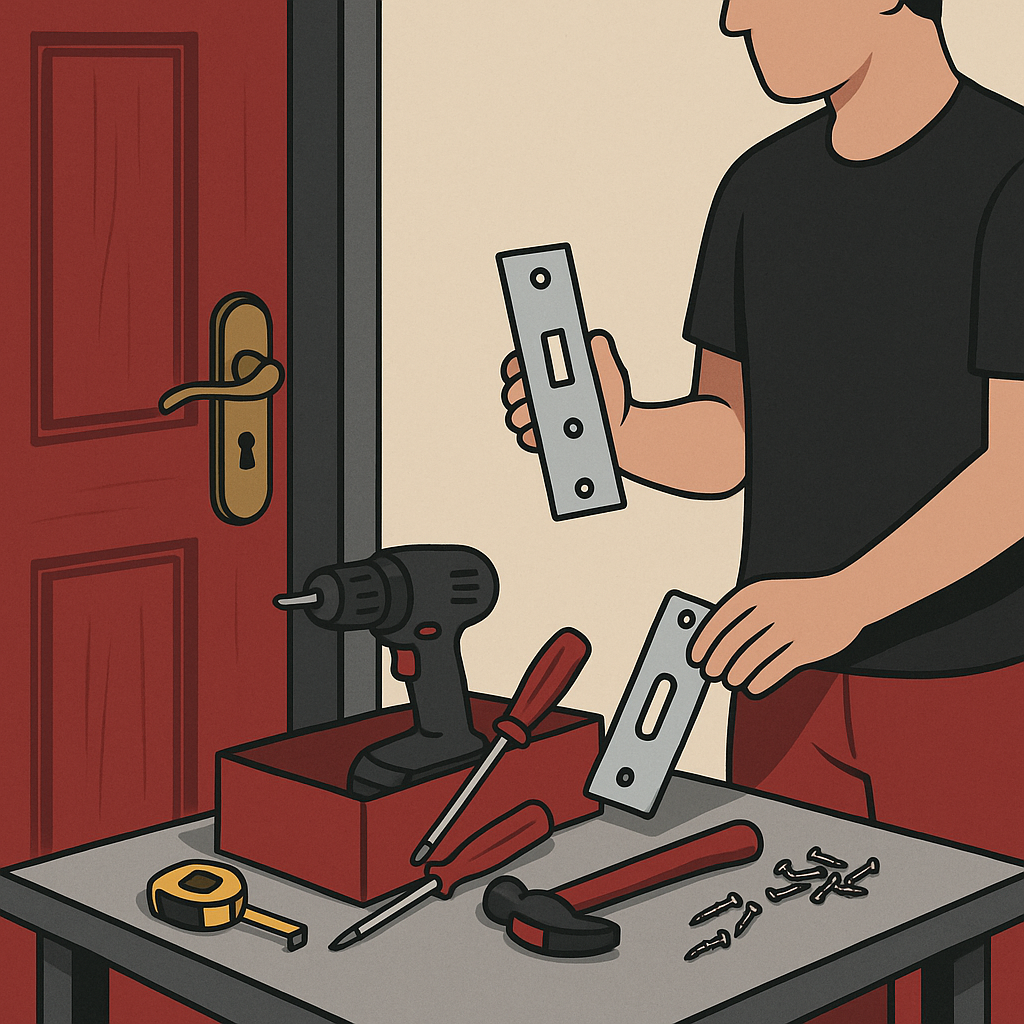
The installation is straightforward. Most people finish in under an hour. Here is the exact sequence:
- Gather Your Tools: Drill, screwdriver, measuring tape, pencil, safety glasses, and the kit components. Have everything on the floor before you start — stopping mid-install to hunt for a bit costs you time and alignment.
- Remove Existing Hardware: Unscrew the old strike plates, hinges, and jamb components. Set them aside. You may need them as reference points for positioning the new plates.
- Install Reinforcement Plates: Align the new strike plate with the existing latch opening. Drive the provided long screws through the plate and into the wall stud. Short screws into soft wood are what failed before — don’t repeat that mistake.
- Secure the Door Jamb: Position the jamb reinforcement plate so it covers the full latch-to-frame contact zone. Screw it down firmly. This plate is what keeps the frame from splitting under a kick.
- Reinforce Hinges: Swap out existing hinge screws for the longer ones included in the kit. They need to reach the wall framing — not just the door casing.
- Test the Door: Open and close it several times. It should move smoothly with no binding. If it drags, check plate alignment before calling it done.
Tools and Resources Needed
Keep this checklist on hand before you start:
- Power Drill: Drives screws into studs cleanly and quickly.
- Screwdriver Set: For fine adjustments and precision placement.
- Measuring Tape: Accurate alignment matters — eyeballing it costs you a second pass.
- Pencil: Mark your drill points before committing.
- Safety Glasses: Non-negotiable when drilling into door frames.
Door Armor also provides video tutorials and direct customer support if you run into a configuration that needs a second opinion.
Best Practices and Tips
Installation is only the start. Keep the system working:
- Regular Maintenance: Check all screws and plates every few months. Vibration and seasonal wood movement can back screws out over time.
- Upgrade Locks: Pair your reinforcement kit with a high-security deadbolt. The frame holds — the lock needs to hold too.
- Professional Installation: If the frame is already damaged or the door sits out of square, bring in a professional. A misaligned install is worse than no install.
- Combine with Smart Technology: Smart locks and door sensors give you real-time alerts. Physical reinforcement stops the breach — smart tech tells you it was attempted.
Case Study: Hardening a Suburban Home After Neighborhood Break-Ins
A family in a suburban neighborhood watched three homes on their street get hit in two months. All three entries: kicked doors, split frames, standard strike plates. They installed a reinforcement kit with a heavy-gauge strike plate and full jamb reinforcement, then paired it with a smart lock and door sensor. Within three months, their block saw no further forced entries. Their door was tested once — a neighbor’s security camera caught someone approach, push on the frame, and walk away. The reinforcement held. The smart lock logged the attempt. That is what a layered system looks like in practice.
FAQs on Door Reinforcement Kits
- Can I install a reinforcement kit on any door type? Most kits fit standard door configurations, but verify compatibility with your specific door before purchasing. Side lights and double doors need purpose-built kits.
- Will the kit change how my door looks? Most components are low-profile and designed to blend with existing hardware. Some kits offer color options to match your finish.
- How long does installation take? Under an hour for most people with basic DIY experience.
- What maintenance does it require? Check that all components stay tight, especially after severe weather or any attempted forced entry.
Key Performance Indicators for Security Enhancement
Track these after installation to know whether your system is actually working:
- Reduction in Forced Entry Attempts: If you have cameras, review footage. Deterrence shows up in behavior — people test and move on.
- Response Times: If you integrate smart sensors, measure how fast you receive and act on alerts.
- Component Durability: Inspect plates and screws quarterly. A loose strike plate is a failed strike plate.
- Confidence in the System: You should be able to leave the house without running through worst-case scenarios. If you still feel exposed, the system is incomplete.
Integrating Door Reinforcement with Home Security Systems
Physical reinforcement and electronic monitoring work better together than either does alone. Add these layers:
- Alarm Sensors: Mount contact sensors on reinforced doors so any unauthorized opening triggers an immediate alert.
- Networked Surveillance: Connect door cameras to a central hub for continuous recording and live monitoring. The reinforcement stops the entry — the camera documents the attempt.
Conclusion and Next Steps
A reinforced door is not a guarantee. It is a significant upgrade over what most homes are running right now. You have the blueprint — assess your door, select the right kit, install it correctly, and layer in smart technology where it makes sense. The operators who build secure homes do it systematically, not reactively. Start with the door. Explore the full range of door security solutions to find what fits your specific configuration.
For more detailed guides and security resources, visit Home Door Security and build your system one solid decision at a time.
Disclosure: this article may contain affiliate links. If you buy through them, we may earn a small commission at no extra cost to you.

Leave a Reply