
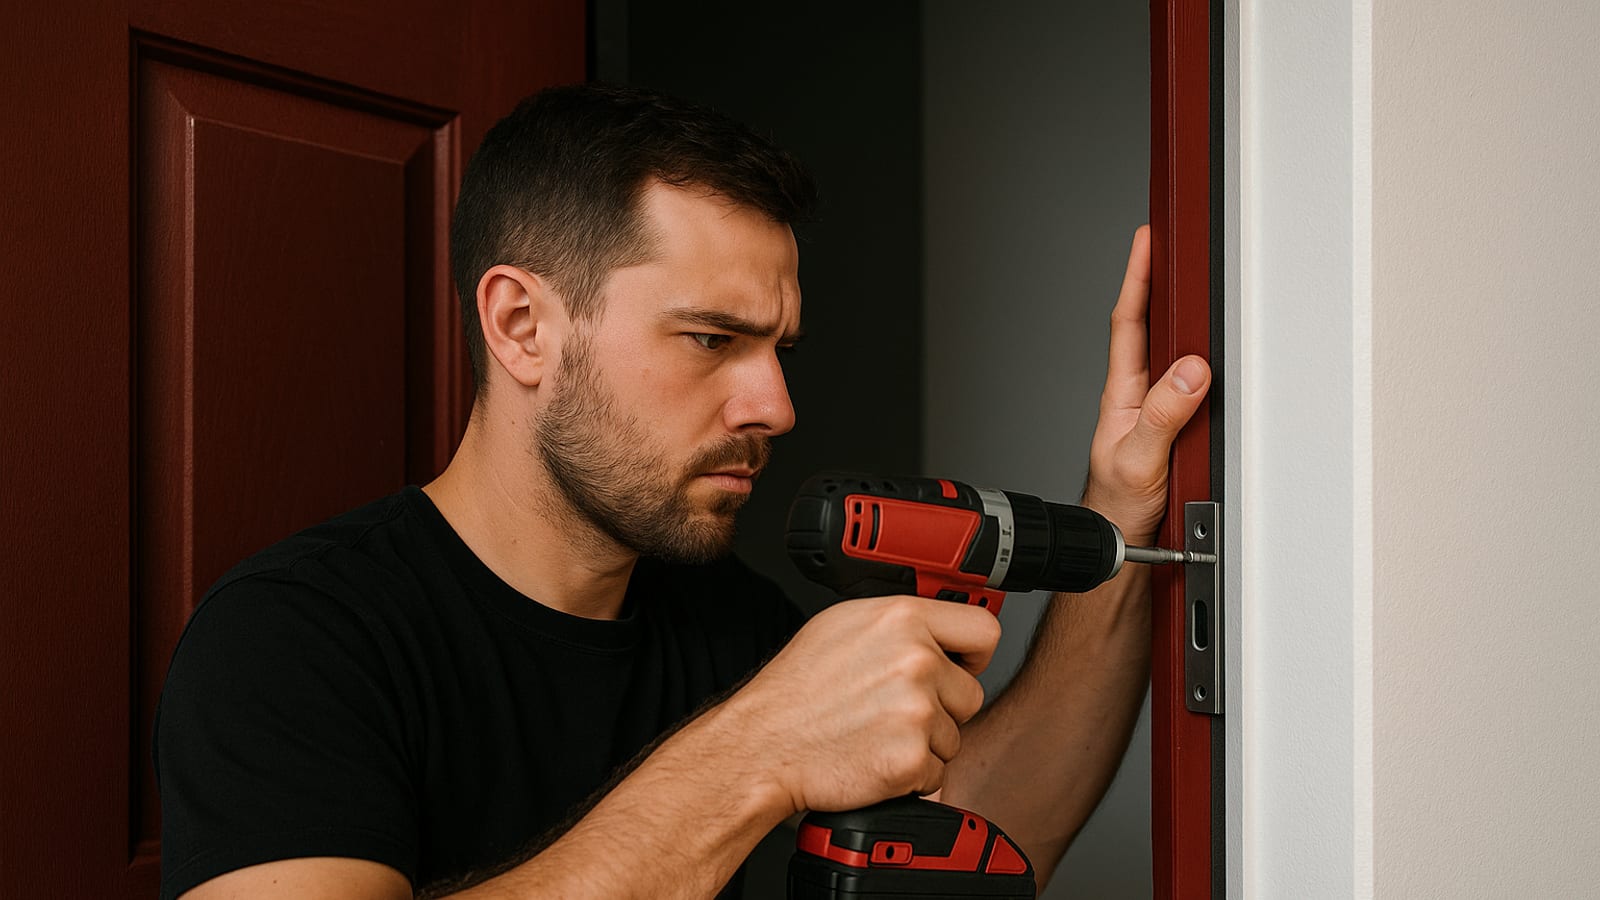
Your front door is not a formidable barrier. Not yet. Most standard door frames are one solid kick away from failure — and intruders know it. The fix takes 30 minutes, costs less than a dinner out, and the difference between a door that holds and one that doesn’t could be everything. Here is exactly how you do it.
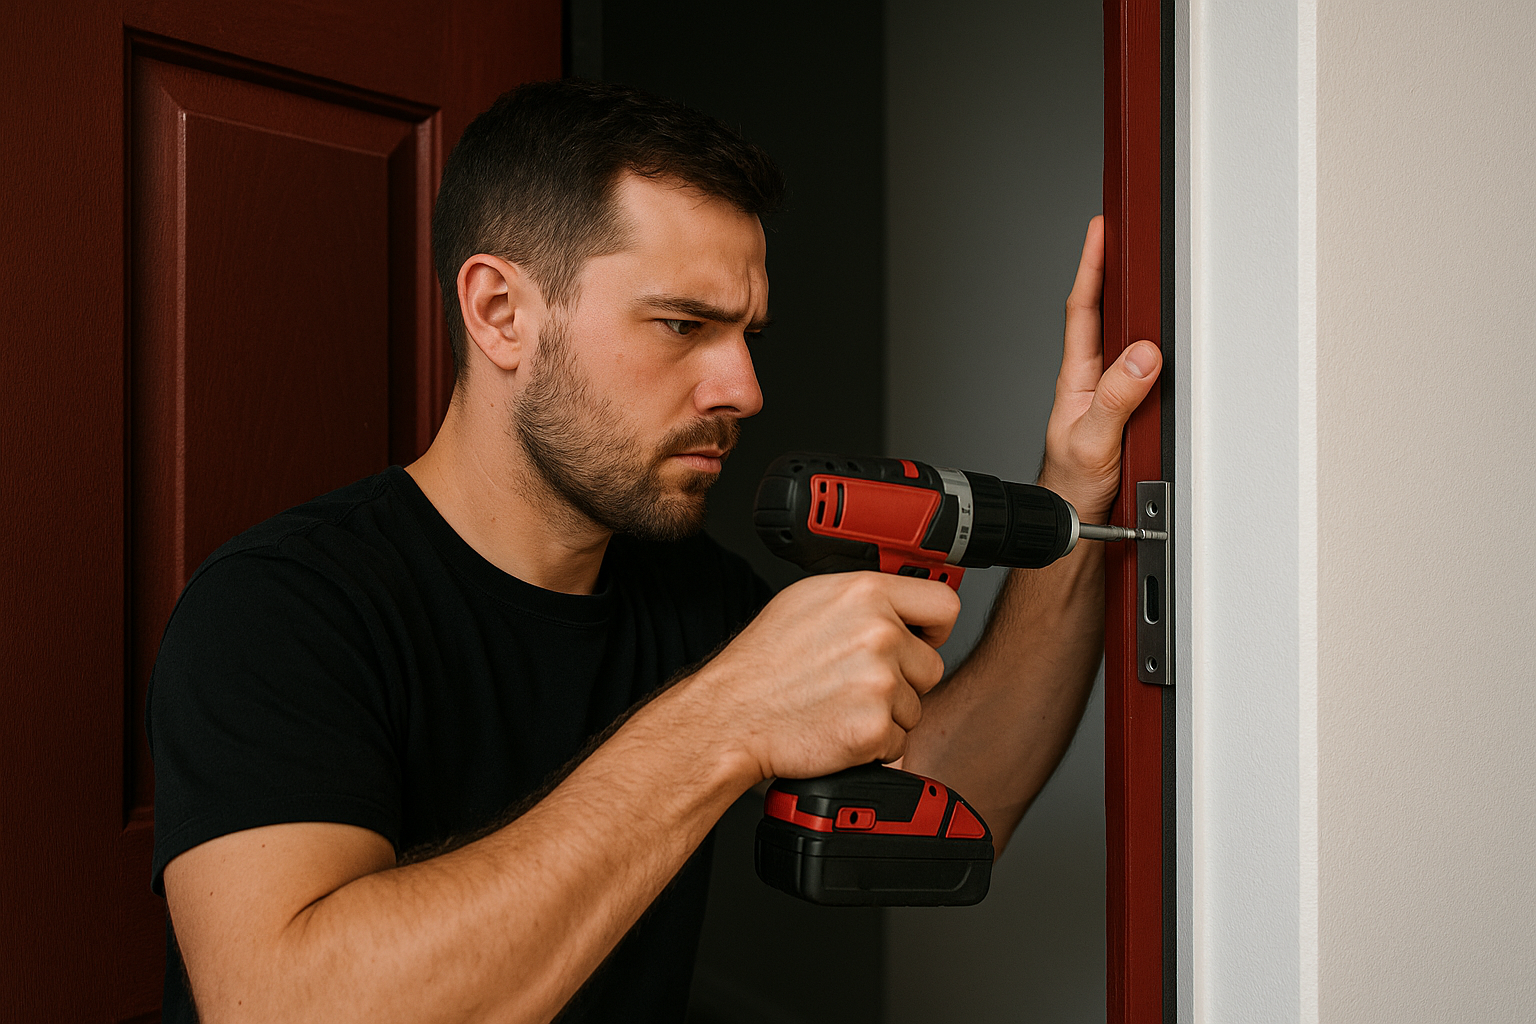
The Weakest Link in Your Home Security
When a break-in happens, the door frame goes first. Not the lock. Not the deadbolt. The frame. Intruders target it because it works — and because most builders never prioritized it in the first place.
Common Door Frame Weaknesses
Standard door frames are built for appearance, not resistance. The vulnerabilities are predictable:
- Thin softwood that splinters under a single forceful blow
- Short screws that anchor into drywall instead of structural studs
- No metal reinforcement distributing impact across the frame
Fix these three points and you have a door that actually earns its place between you and the outside world.
Tools and Materials You Will Need
Gather everything before you start. Stopping mid-project costs time and momentum.
- Drill and Drill Bits: For pilot holes and driving screws cleanly.
- 3-inch Wood Screws: Long enough to reach the structural studs behind the frame.
- Reinforcement Plates: Metal plates that spread impact force instead of concentrating it.
- Door Reinforcement Kit: The Single Door Security Kit covers a standard door comprehensively.
- Measuring Tape: Precision matters when you are drilling into a frame.
- Screwdriver: For final adjustments and manual tightening.
With these in hand, you are ready to build something that holds.
Step-by-Step Guide to Reinforcement
Step 1: Remove Existing Hardware
Pull the existing strike plate and any hardware that sits in your way. A screwdriver handles this cleanly. Do not rush it — you are setting the foundation for everything that follows.
Step 2: Install Longer Screws
Swap every screw in the hinges and strike plate for 3-inch wood screws. These reach past the frame, past the drywall, and into the wall studs. That connection is what transforms a decorative frame into a structural one.
Step 3: Attach Reinforcement Plates
Position the reinforcement plates over the strike plate and deadbolt contact points. Drill pilot holes, then drive the screws home. These plates distribute force across a wider surface area — the difference between a frame that splinters and one that absorbs impact.
Step 4: Install a Door Reinforcement Kit
A dedicated kit closes the gaps that individual components leave behind. The Single Door Security Kit is built for standard doors and comes with clear installation instructions. Follow them precisely. Every component tightened is a vulnerability removed.
Additional Measures Worth Taking
The frame is your priority. Once it is solid, layer in these upgrades:
- Upgrade Locks: High-quality deadbolts matter. Smart locks add a second layer of access control.
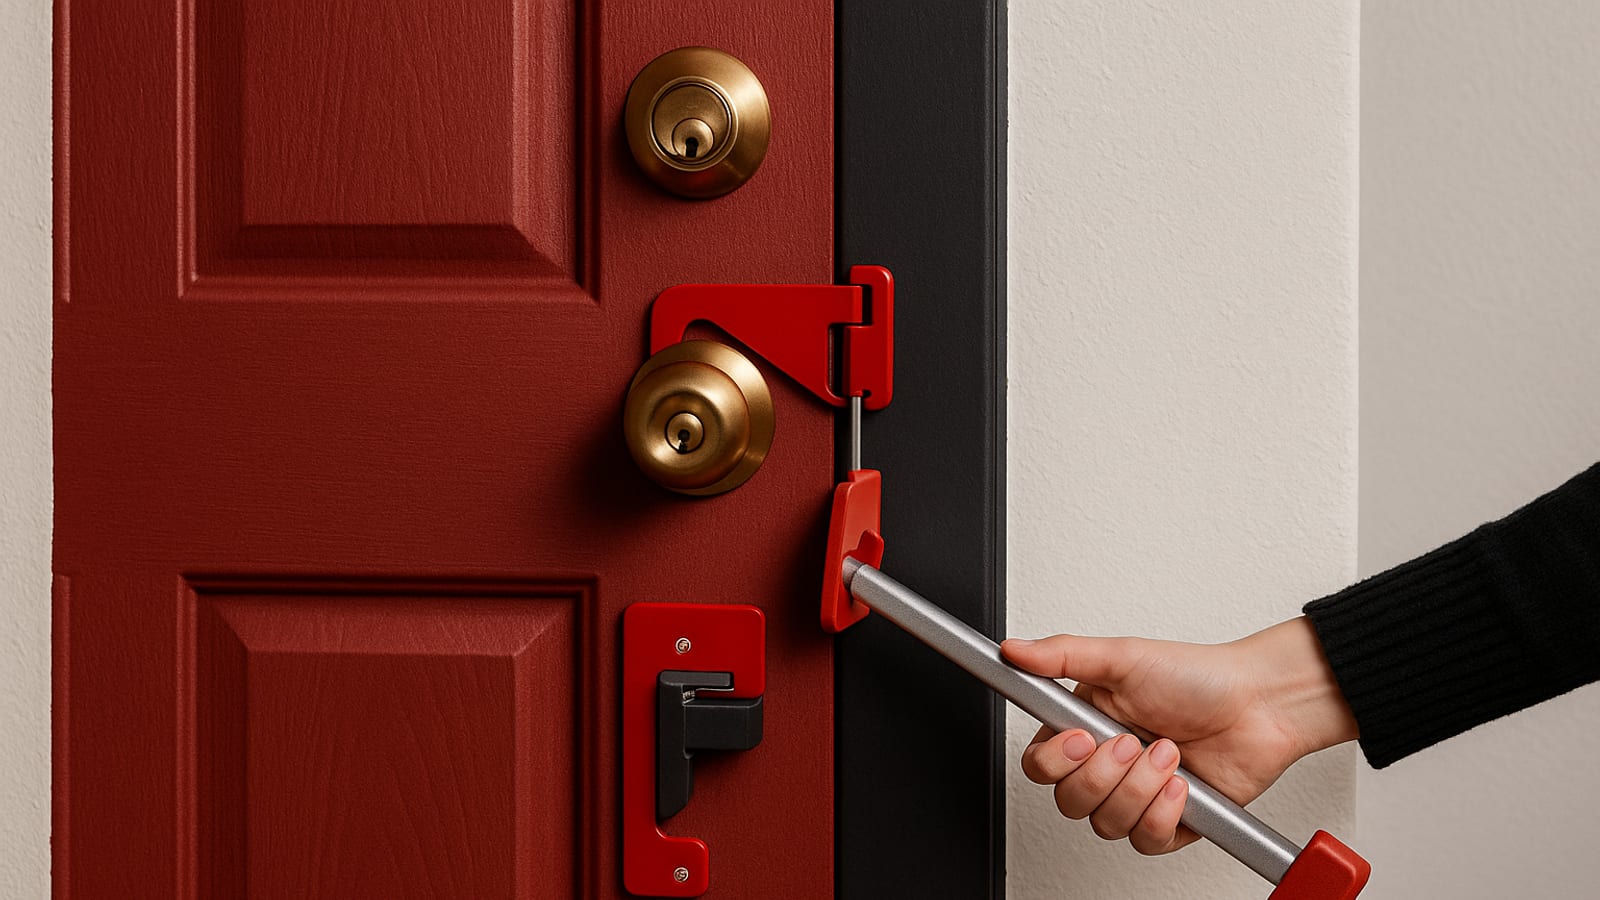
- Use a Security Bar: A door security bar is a low-cost, high-impact addition against forced entry.
- Install a Peephole or Security Camera: Knowing who is outside before you open the door is its own form of defense.
Browse additional door security solutions at Home Door Security.
Conclusion: Thirty Minutes. Real Results.
This is not a complicated project. It is a deliberate one. Thirty minutes of focused work, the right materials, and you have a door frame that no longer represents the easiest path into your home. That is a return worth taking seriously.
For a full range of door security solutions, visit Home Door Security. A door that holds is not luck — it is a decision you make before you need it. 🚪🔒
Advanced Reinforcement Techniques
If you are in a high-risk area or simply want every possible advantage, go further. Basic reinforcement is the floor, not the ceiling.
Install a Door Jamb Reinforcement Kit
A door jamb reinforcement kit wraps the entire frame in a metal sleeve — not just the strike plate zone. Look for high-gauge steel construction. Anything less is a compromise you will regret under pressure.
Use Security Hinge Pins
If your door opens outward, the hinges are exposed. Standard hinge pins can be knocked out. Security hinge pins or interlocking hinge bolts eliminate that vulnerability entirely, keeping the door anchored even when the lock side is under attack.
Reinforce the Door Edge
The lock edge of the door is another failure point. A metal door edge guard installed on the interior side prevents splitting under lateral force. It is a small addition with a disproportionate impact on overall resistance.
Checklist for Door Frame Reinforcement
Run through this before you pick up a drill:
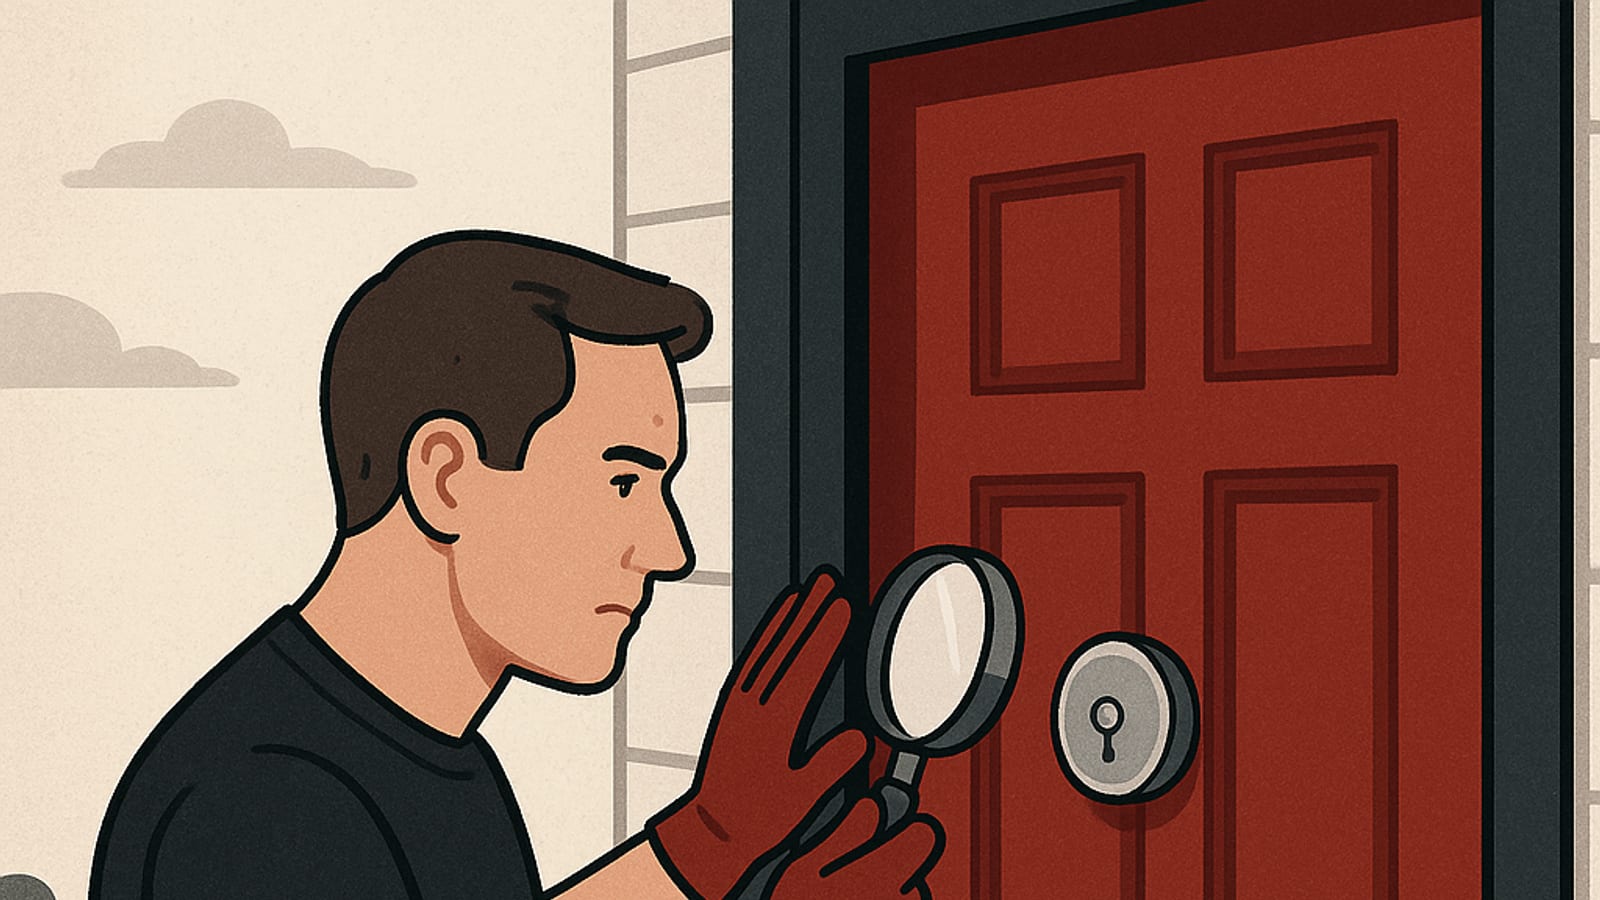
- Assess Door Frame Condition: Identify existing cracks, soft spots, or loose components before adding reinforcement on top of a compromised base.
- Gather Tools and Materials: Everything on the list, including any advanced kits, should be within reach before you start.
- Measure and Mark: Mark every reinforcement point with a measuring tape. Guessing costs you accuracy.
- Check Alignment: Confirm all components are aligned before drilling. Misalignment creates new weak points.
- Test Door Functionality: Open and close the door multiple times after installation. A reinforced door that binds is a door you will leave unlocked out of frustration.
Case Study: Reinforcement Holds in an Urban Break-In Attempt
A homeowner in a dense urban area had watched break-in reports climb in their neighborhood. They installed a door jamb reinforcement kit and security hinge pins — nothing exotic, just methodical execution of the right steps.
Weeks later, someone tried the door. The frame held. The intruder left. No entry, no loss, no drama. That outcome was not luck. It was the direct result of a decision made before the threat arrived. Basic and advanced techniques, stacked together, produced a door that did exactly what it was built to do.
Key Performance Indicators for Door Security
Measure what you build. These are the indicators that tell you whether your reinforcement is working:
- Reduction in Forced Entry Attempts: A visibly reinforced door is a deterrent. Track whether attempted incidents decrease after installation.
- Improved Door Durability: Note whether maintenance needs drop. A properly reinforced frame requires less ongoing attention.
- Confidence in Your Security: Quantify the shift in how secure you and your household feel day to day. That is a real output.
- Cost-Effectiveness: Compare the total cost of reinforcement against the average loss from a residential break-in. The math is not close.
Tracking these keeps your investment honest and your security posture sharp.
FAQs on Door Frame Reinforcement
- How often should I reinforce my door frame? Inspect every few years, or immediately if you notice loose hinges, visible cracks, or a door that no longer closes cleanly.
- Can I reinforce a door frame in a rental? Yes. Most reinforcement methods are removable and leave minimal trace. Confirm with your landlord before making any modifications.
- How do I know if my door frame needs reinforcement? Loose hinges, hairline cracks in the frame, or a door that sticks or shifts are all signals. Do not wait for a forced entry attempt to confirm what the signs are already telling you.
Disclosure: this article may contain affiliate links. If you buy through them, we may earn a small commission at no extra cost to you.

Leave a Reply